So I thought I had better have a go at this since I suggested it way back
here.
I used the same universal kit as
@landmannnn. Example on Amazon AU
here.
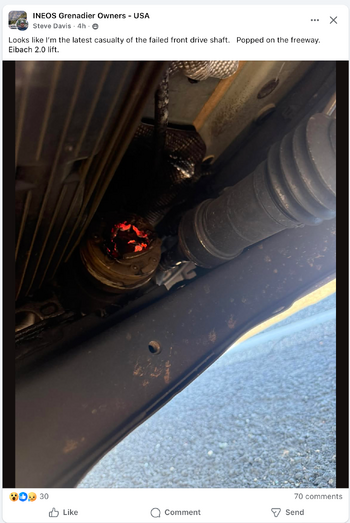
View attachment 7918975
This was an exercise in put-up or shut-up to see how much of a PITA it would be to adapt and fit this universal kit. Not too bad, but you're working with 5mm thick steel so allow for that if you contemplate doing something similar with this kit.
Should you do this? Not unless you're the anxious type who worries about a possible driveshaft separation. I did it as an exercise because I have the time and tools. There's been a few driveshaft separations but they're rare enough that you should not lose sleep over it. But as I have said elsewhere, you're trying to avoid secondary damage to the vehicle from a flailing driveshaft if it occurs. This loop does that. It's definitely doable but me doing it as an exercise is not a recommendation that you should also.
Everything I needed was in the kit but I modified it a fair bit so I would call it a donor kit. You get two mount arms and two half-loops plus some Chinesium hardware. I did it slightly different to Landmannn. I chopped up both arms to make one long mount arm to attach to the cross member. The holes in the cross member are on a 260mm spacing so I needed to lengthen one mount arm to pick up the 2nd hole. I used some of the chopped up bits to make a riser to set the loop height I wanted, plus drilled a 2nd set of holes in the half-loops then chopped off the original set to make the half-loops shorter and the loop diameter smaller. The bottom half of the loop is a bit redundant because it extends below the cross member so a flailing driveshaft will be restrained at the bottom by the cross member not the safety loop. But I ended up with a loop that is centred over the driveshaft with good clearance all around to allow for suspension travel. The top half of the loop sits just below the transfer case Bowden cable.
In the words of all dedicated DIYers: "That (driveshaft) ain't going nowhere."
Installation is easy. The mount arm, riser and top half-loop are assembled as one piece. I welded it all together after I got everything in the right place using the bolt holes. I left some bolts in place to fill up the unused holes. Place that piece over the driveshaft then loosely attach the mount arm to the cross member. Install the lower half loop and connect with 4x (upgraded) bolts and nyloc nuts. I slotted the holes in the mount arm so I could centre the loop to the driveshaft. Line that up then tighten the cross member bolts and it's done. Removal is the reverse.
Five minutes work with a 17mm socket and spanner.
This was a fairly bespoke job but I did collect some measurements if anyone is keen enough to have a go. It's fairly apparent what you need to do once you have a kit in front of you.

") .
.