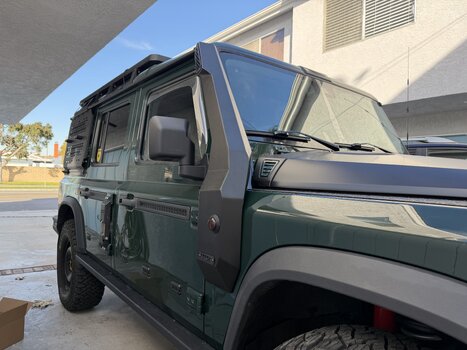
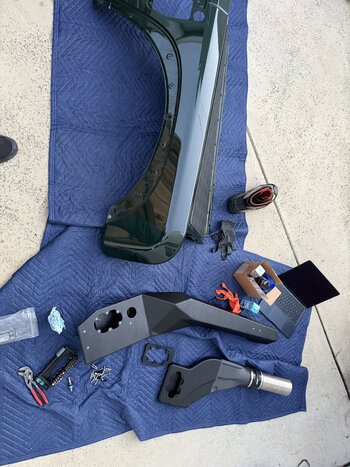
Finally: Got the GrenX Aluminium snorkel

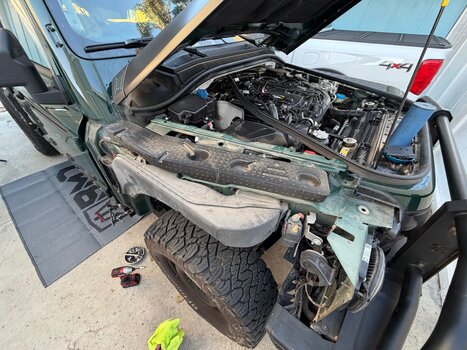
on yesterday and buttoned it all up. Overall not a bad install took me about 6.5 hrs to do because I had to remove my right side rock rail (Agile) to get to one bolt on the fender.
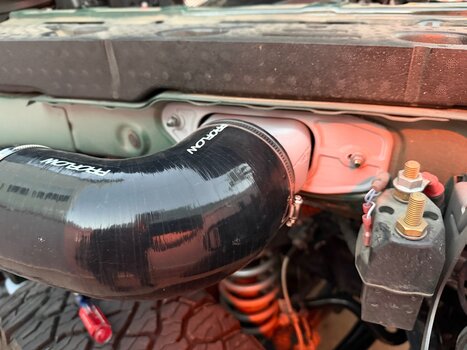
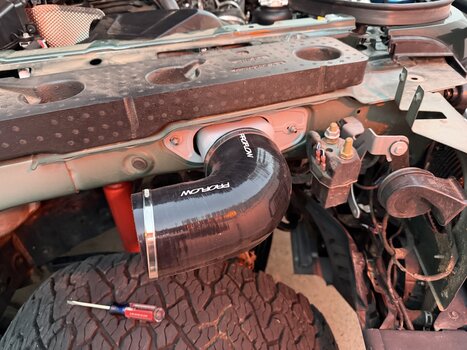
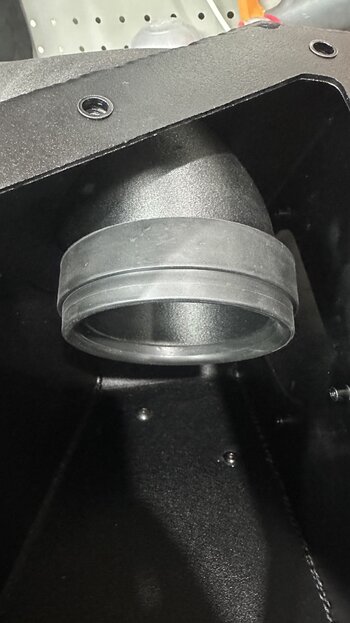
One trick: use a light coat of WD-40 to lubricate the stainless steel pipe to 90* silicone coupler when assembling the fender back to the truck. Will help it all slide without binding up.
Would be helpful to have some extra hands. If you’re mechanically inclined and have fiddled around with cars and other things in past this isn’t a hard install. Just approach with an open mind and patience.
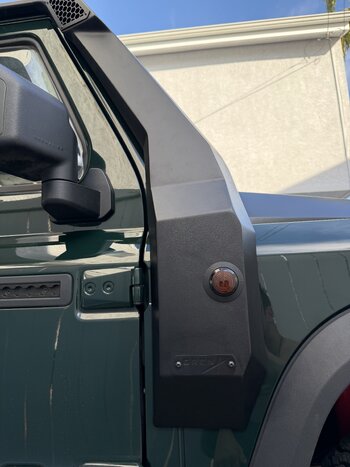
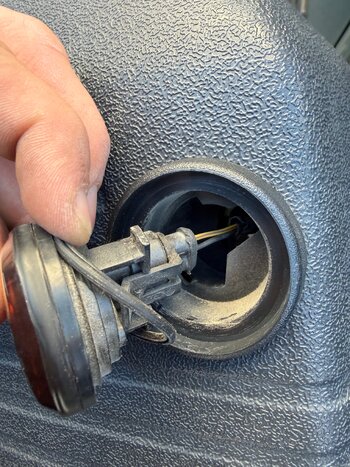
For the turn signal wire: use a hooked pick/probe tool and gently pull it through the fender and pass-thru, connect the light and then match the keying and twist (similar to replacing an old halogen bulb). Uninstall from the OE raised air intake tube works the same and there’s a locking tab that just needs to be lifted to release.
Overall: works as designed, I’m sure Rohan and Canna Fab have made small improvements since I ordered this kit back in June 2025.
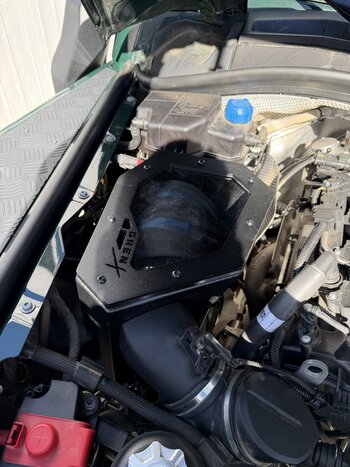
Given the OE airbox does seem to leak dust a bit, the big win here is the upgraded airbox.
Installing the airbox is… fun… but not too hard. You’ll notice where to adjust the heatshield over the exhaust manifold/turbo (this takes very little hand force, and the car should be plenty cool by the time you get to this point). Then make sure the feet engage on the underside in the rubber grommets - note: they won’t fully engage. I’m likely going to add a velcro strap around the airbox and putt a couple of the M6 screws through it to secure over corrugations. And I put a bit of silicone coupler material, as a pad, where the box contacts the mount on the underside so it doesn’t mar and make noise.
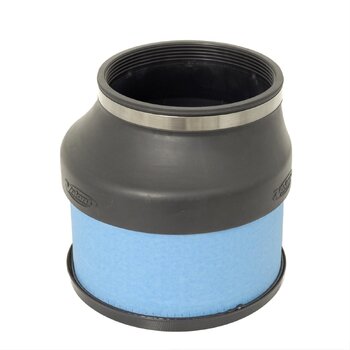
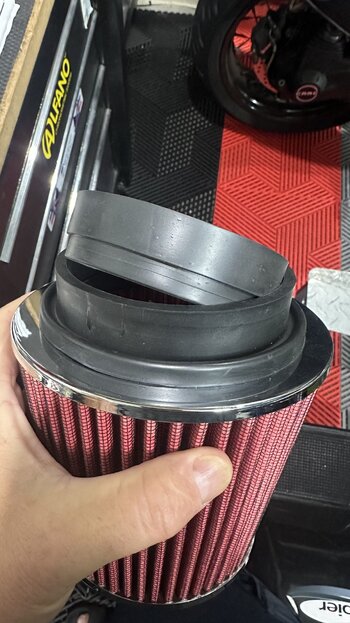
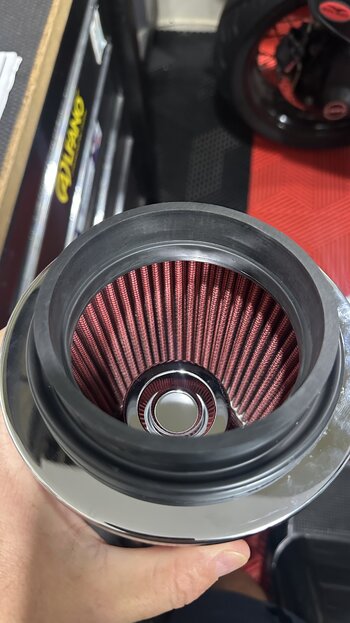
Filter: I’m using the Donaldson PowerCore that I sized by measuring the flange diameter, box dimensions and CFM comparison to a Bronco 2.7 EcoBoost twin turbo. Same setup that I recommend to
@KristinaM for their build. Seems to work well so far after 2 days of driving around town. Also have the pre-filter sock on it for a bit of water resistance. May never need to service that filter, beyond inspection.
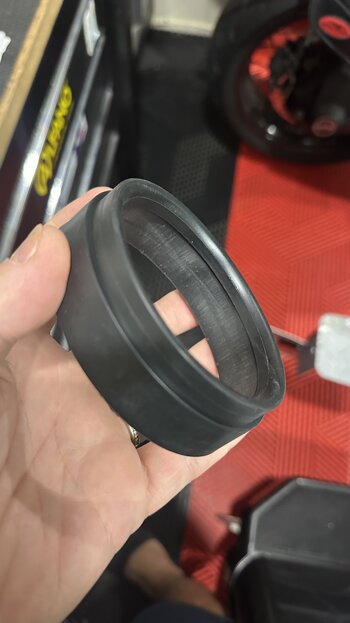
Note: this isn’t a filter fully designed for this airbox and requires the two rubber rings that come with the GrenX kit to clamp onto inside the box.
Be mindful when you swap over the MAF sensor and look up how to disengage BMW wiring connectors on FCPEuro’s YouTube. (Try not to break the locks).
Sound: the aluminum definitely resonates a bit more than the plastic (as expected). Even with the Donaldson filter in the airbox there’s increase, but not annoying turbo whooshing

around town at light loads. This is kind of fun and neat if you enjoy responsible engine sounds. Under full load you can hear a bit more induction sound as well. Louder with windows down than up, but audible both times and again not obnoxious or fatiguing. But apparent and fun. Not something to consider if you really want the snorkel upgrade and the cost doesn’t turn you away.
Solid quality bit of kit, that will certainly add a peace of mind and cleaner air to the engine.


")