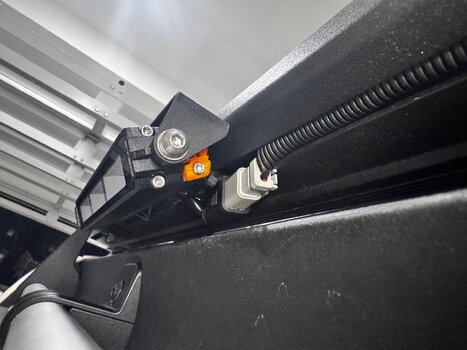
I have been a bit wary of the exposed 12v at the winch circuit breaker adjacent to the jump start post under the bonnet. To easy to drop something onto.
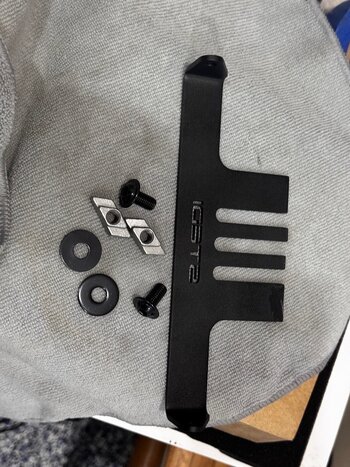
So I designed and printed some protection.
Came up ok and isolates all the hot 12v parts.
This is the last prototype and will print the final version in ASA and probably in black.

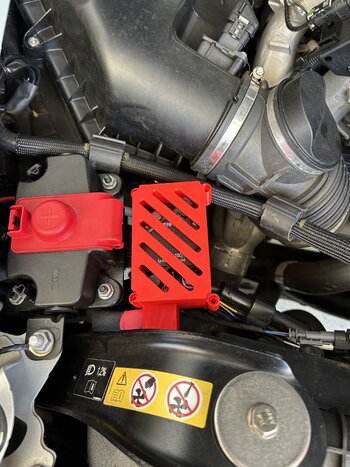
So I designed and printed some protection.
Came up ok and isolates all the hot 12v parts.
This is the last prototype and will print the final version in ASA and probably in black.
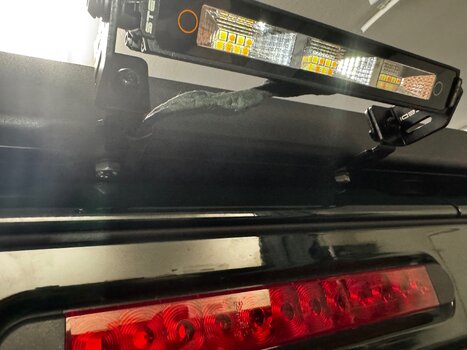
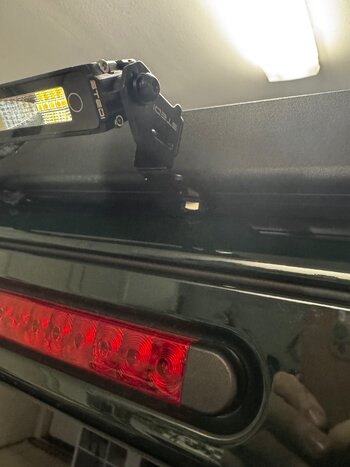
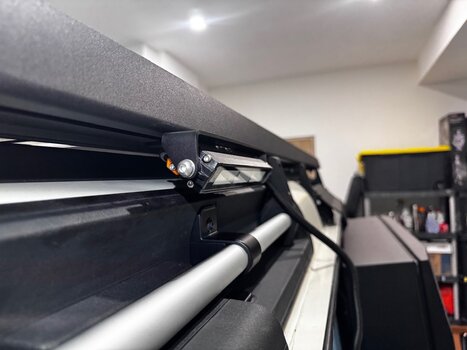
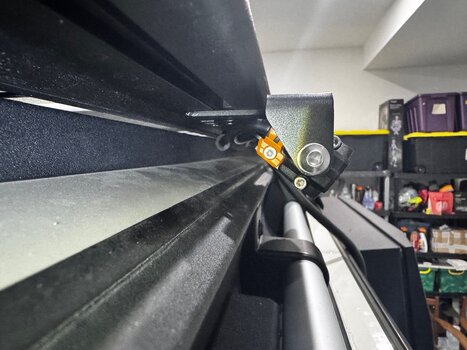
") very versatile with white/yellow and individual dimmer for each color….
very versatile with white/yellow and individual dimmer for each color….