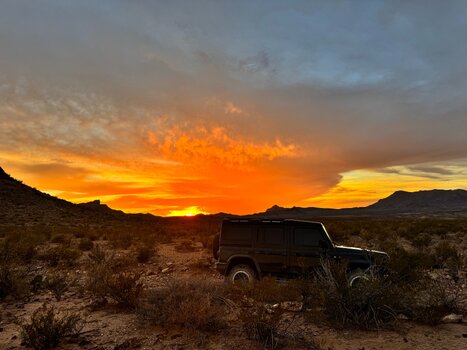
DJI OSMOS 5 - mounted to mount on dash trayNice run and great susnset. How did you record this, on your phone directly? How is mounted?
A community driving the extraordinary.
Welcome to Global Grenadiers — the worldwide community for INEOS Grenadier and Quartermaster owners and enthusiasts. Register free to join the conversation. Share your build and adventures, access technical guides, join your regional social group, get help on the trail, and receive our monthly newsletter.
INEOS Agents, Dealers or Commercial vendors — please use the Contact us link at the bottom of the page.
DJI OSMOS 5 - mounted to mount on dash trayNice run and great susnset. How did you record this, on your phone directly? How is mounted?
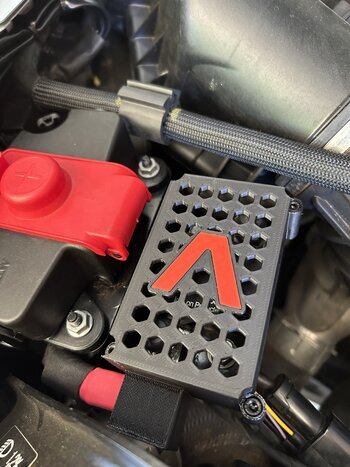
I was playing around with a two colour job.Red still seems appropriate (and in keeping with the cover of the adjacent 12 volt post), considering the risk…

Is possible, however postage cost can make a cheap part expensive. Having someone local print for you is much more cost effective.Will you sell
Some for folks who don’t have a 3D printer

Nice to see you putting your winter tyres to use and showing all the novices in their pickup trucks how it's done with a Grenadier

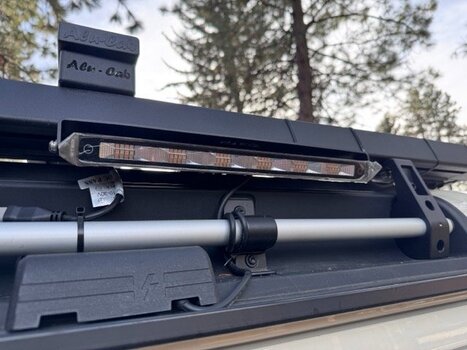
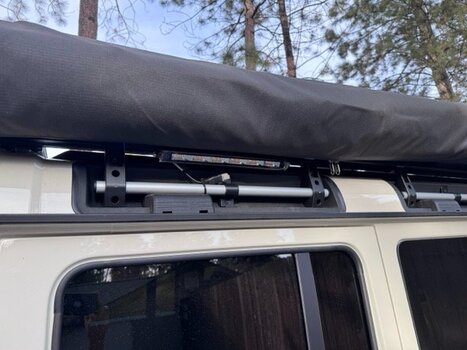
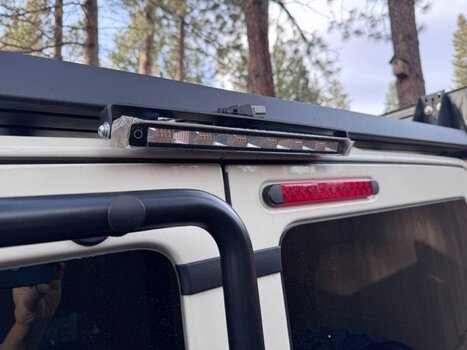
No need to cut off the Stedi brackets. Just give them an initial shove at a 45 degree upward angle and they will then lay flat to bolt into place. These Stedi Micro Touch Dual Color 13.9" lights were $104 each delivered to the US from Stedi UK. Two weeks from the time of ordering to my front door. They await connection as I finalize my rooftop electrical plan (trying to make sure I don't forget something and have to rewire it later).I did the same but used the stedi mounting plates… just cut them short to fit. These are the best option on the market for camping lights if you ask mevery versatile with white/yellow and individual dimmer for each color….

Last time I saw it like that we owned a Volvo 340 and had normal tyres on it. Drove from Aberdeen to Helmsdale. Were staying in a cottage up the hill from village and we scraped the road with shuttle and then wife pushed me up. She drove a lot from Aberdeen. Loads of cars in ditch and struggling to get up the dips. We arrived well after midnight on new years day.It’s our pickup and it’s my son driving
But, yeah, the Ineos is awesome.
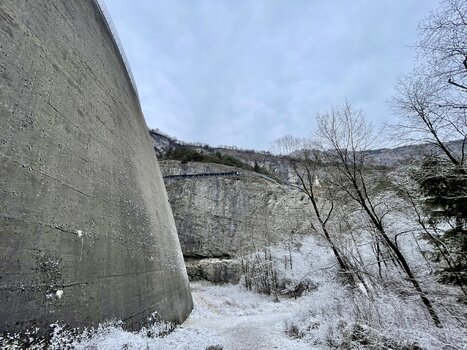
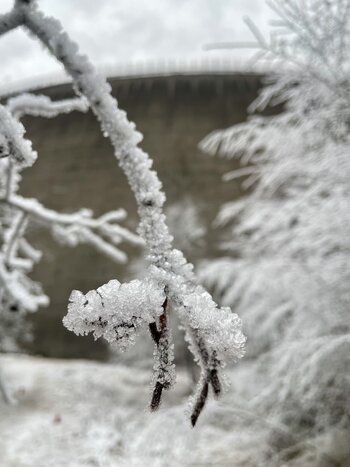
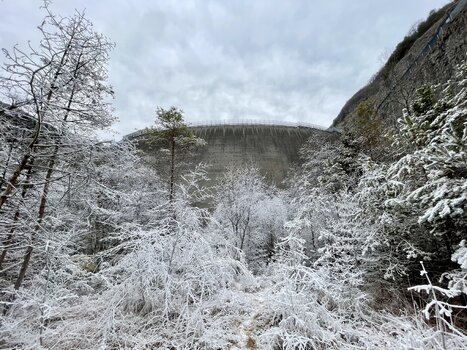
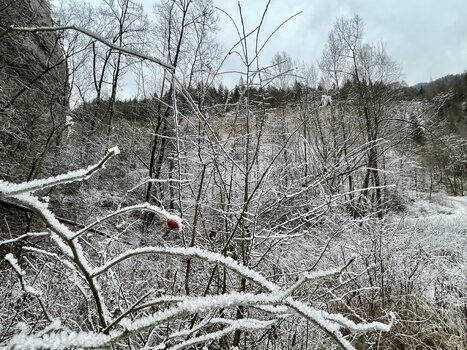
Lots of snow
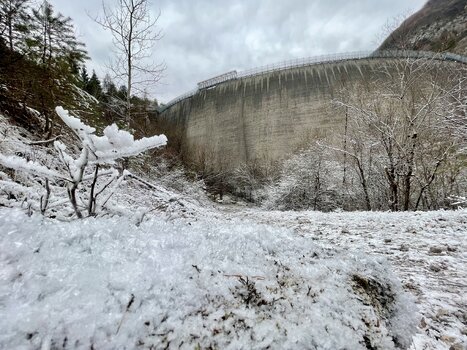
This is a couple of miles away (not my pic)
View attachment 7918457
This is from my dashcam today
View attachment 7918458
Last time I saw it like that we owned a Volvo 340 and had normal tyres on it. Drove from Aberdeen to Helmsdale. Were staying in a cottage up the hill from village and we scraped the road with shuttle and then wife pushed me up. She drove a lot from Aberdeen. Loads of cars in ditch and struggling to get up the dips. We arrived well after midnight on new years day.
Next day the road from cottage looked like your snow drift shots.
It was still like this when we had to go home so we dug our way down to the village. Lovely old couple at the last snow drift sent son out to dig the car through and gave us tea and toast to warm up. Harbour frozen when we were there, I think news said -24 in the valleys by us.
After that I always aimed to have a 4x4 and started using winter tyres when I could.
Just some follow-up to my air filter damage during installation by my agent. See my earlier post here.This happens as the captive bolt catches the seal, I brought this to my dealers attention and they posted a new one to me (I live 250klms away) all service techs should know this
Are they the BFG K02's?Today, ploughing in the snow. Got a call from my mom, about here appointment at the doctor today.
Mom: We aren't going to the appointment, I will cancel the appointment, to much snow, to difficult to drive, you can stay at home.
Me: NO WE DON'T! Be ready I am on my way!
View attachment 7918713