The Grenadier Forum

Register a free account today to become a member! Once signed in, you'll be able to contribute to the community by adding your own topics, posts, and connect with other members through your own private inbox! INEOS Agents, Dealers or Commercial vendors please use the contact us link at the bottom of the page.

What did you do with your Grenadier today?

Going to install this as soon as someone here can teach me how the heck to get that amber bulb off. lol

View attachment 7916591

View attachment 7916592
Getting the amber side light out of the louver plate is not to bad, it just needs to be twisted until it releases, don't remember the direction. Doing this with the light installed in the raised air intake is damn near impossible. I removed my RAI to install the louver plate and it was an infuriating battle.
 
Finally installed a number of small mods:

1. Octodyne led for the key slot - it works, super easy to install. No more scratching around in the dark.
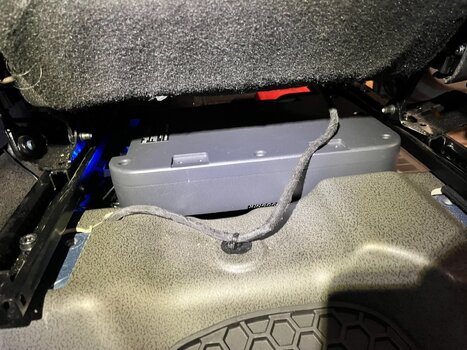
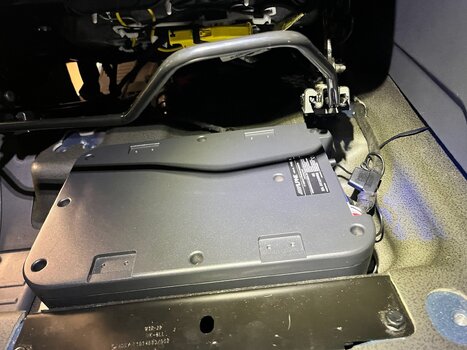
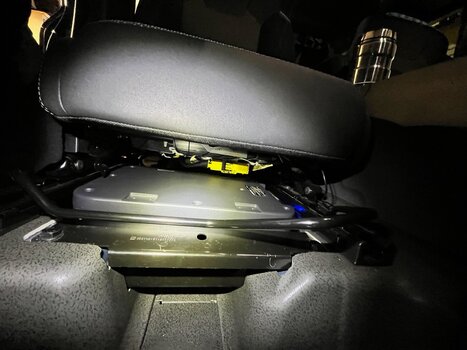
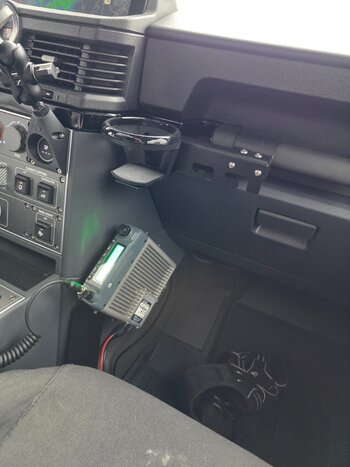
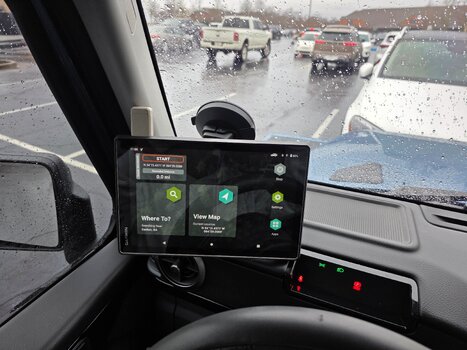
2. dash cam - though, that's going to get rewired at some point when I figure out how I want to rewire the factory dual battery setup
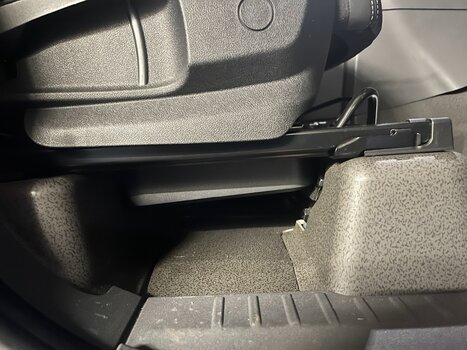
3. tiny rig device holder - except for the silly square socket screws, a nice unit, I only have 67 Design bases right now, they aren't really meant to attach to a flat surface, will have to look at RAM mounts.
4. A Pillar grab handle on the drivers side - got the parts for the RHD vehicles from Warner. Super easy bolt-on, especially if the previous owner hasn't glued a tweeter in the bottom of the old A Pillar trim. Being basically lazy, and not really caring about stereos, I bolted the tweeter in behind the trim and didn't bother cutting the hole for it. Guarantee that I'll never notice and will forget it's even there.
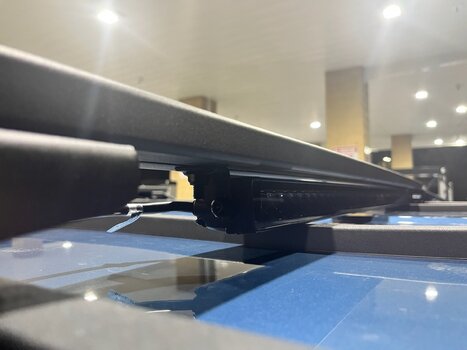
5. DVA Mechanics set of 4 roof rails - super nice low profile crossbars. I don't really need a full roof rack, so the crossbars are a nice alternative.

The big downside, for me, with the DVA crossbars, is that with 4 of them, the rear ones attach in the exact point where I want to put the DVA brackets to hold my 4gal Rotopax over both rear windows. I can mount the Rotopax flat on the roof like I had with the land cruiser, or I can remove the rear two crossbars. Haven't decided yet, but an interesting thing to note for anyone else considering DVA Crossbars and the DVA vertical rear window mounts. They're all nicely made, too many tiny effing screws though, but other than that, nice gear.
i got the rotopax mount from GP Factor, mounted my Rotopax on the rear tire. super easy and excellent quality and fitment as usual from GPF.
 
Preparing for a big road trip! Blendmount and dashcam are next.
 

Attachments

  • december-mods - 1.jpeg
    december-mods - 1.jpeg
    788.3 KB · Views: 72
  • december-mods - 2.jpeg
    december-mods - 2.jpeg
    1.6 MB · Views: 50
  • december-mods - 3.jpeg
    december-mods - 3.jpeg
    1.1 MB · Views: 44
  • december-mods - 4.jpeg
    december-mods - 4.jpeg
    979.5 KB · Views: 47
  • december-mods - 5.jpeg
    december-mods - 5.jpeg
    1.1 MB · Views: 48
  • december-mods - 6.jpeg
    december-mods - 6.jpeg
    1.2 MB · Views: 58
i got the rotopax mount from GP Factor, mounted my Rotopax on the rear tire. super easy and excellent quality and fitment as usual from GPF.
I looked at that mount, I had a similar mount for the Wrangler, years ago. It doesn't quite support 2x 4gal rotopax. I mean, I guess it could, but I found bumpy roads with 8gals of gas out back on one mount was tough on the mounting hardware.
 
This morning the craftsmen at Overland Outfitters sent me a few more photos of the wide rear door window bag preproduction sample in progress. They'll send me samples for testing, hopefully I'll have them around the end of the year.
Overland Outfitters was interested in this design so I sent them the prototype bag I sewed so they could copy it. They sent me these photos of their preproduction sample two weeks ago:

View attachment 7916528

This is the prototype I sewed installed in my Grenadier, along with the beginning of a pattern for the wide door version:

View attachment 7916530

When I sent them the prototype I also sent them the completed pattern for a similar bag for the wide rear door. I didn't sew a prototype of that one myself because I figured with my small door prototype in hand and the pattern they could sew a prepropduction sample themselves. Today they sent me this photo of the wide door version work in progress:

View attachment 7916529

Both of these bags mount very securely without screws or double side tape; they don't damage the door in any way and are easily removable.

Once they finish the wide prototype they'll send me samples for testing, hopefully I'll have them by the end of the year. I'll post photos when I get the samples and test them.


My build thread: https://tinyurl.com/265dxjyc

New content every day: Land Rover Ideas for Grenadiers: https://tinyurl.com/3puyt6m3

The craftsmen at Overland Outfitters sent me a few more photos of the wide rear door window bag preproduction samples in progress. They'll send me samples for testing, hopefully I'll have them around the end of the year.

PreproductionPeek2a.jpg


PreproductionPeek2b.jpg


My build thread: https://tinyurl.com/265dxjyc

New content every day: Land Rover Ideas for Grenadiers: https://tinyurl.com/3puyt6m3
 
Last edited:
Grenadier with 150 amp hour RedArc battery and 2000W inverter running my sons refrigerator for 13 hours when Xcel energy cut off power for 16 hours due to high winds. Battery dropped from 100% to 71% in 13 hours, so good to know it will power a home refrigerator for a bit over 40 hours without running the engine.
Screenshot 2025-12-18 at 7.11.51 PM.png
 
Two weeks ago I posted photos of a quick-mounting table for the Utility Belt that I made from an Ikea cutting board. I had finished the table and wrote that the next and final step was to make a storage bag for it so it wouldn't rattle around in the Grenadier when not in use. I sewed the bag yesterday.

TableBag3.jpg


There are two pockets inside, one for the tabletop and the other for the mounting rail and support straps.

TableBag2.jpg


The mounting rail attaches to the Utility Belt and the way I'll probably use it is to install the rail before setting out on an expedition. No problem leaving the rail on for the whole trip. The rail mounted:

TableRailG.jpg


The table just slips over the rail.

TableMountedG.jpg


For light use the table is self-supporting, but it's better to add the support straps for whatever load someone puts on the table:

TableStrapsG.jpg


View: https://youtu.be/338ml66rOLY
 
Installed Garmin on INT1 and GMRS on INT2.
 

Attachments

  • 20251218_110110.jpg
    20251218_110110.jpg
    3.4 MB · Views: 1
  • 20251218_110046.jpg
    20251218_110046.jpg
    3.9 MB · Views: 1
  • Like
Reactions: CRH
Back
Top Bottom