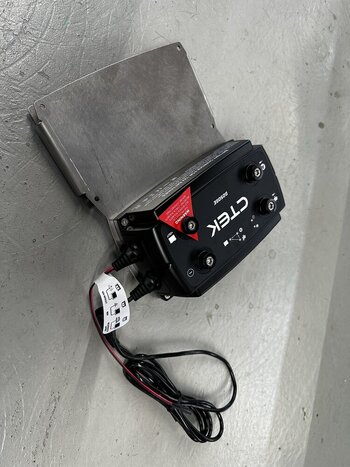
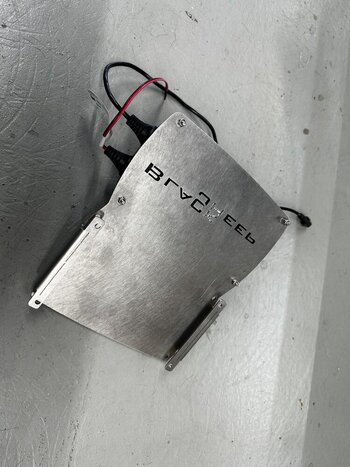
My bracket arrived today - thanks @Black Sheep !
I think I am ready to go for it with the D250SE but if anyone has already installed one then glad to have any tips or install pics etc. I already have all the wires and fuses ready - just a pic of the final install would be great!
I think I am ready to go for it with the D250SE but if anyone has already installed one then glad to have any tips or install pics etc. I already have all the wires and fuses ready - just a pic of the final install would be great!
Last edited:
")

")