I was at a decent moment home (around 2PM) to finally use the "access to the manual".
I had a repair to do, in fact "in warranty", but i thought: "this is easy, I do it myself!"
The handle of my right door was loose, and it was clear that it was only one (1) screw or not tightened enough.

Not that easy for three reasons:
I did it! Thanks to the not perfect and incomplete explanation, but nothing is perfect!

I will try to document it completely when I have some more time. Including images or video from the Ineos manual.
[EDITED] This was a win-win: a warranty work was executed by a customer! No travel time to my dealer and I learned a lot, and no warranty cost for Ineos!
I had a repair to do, in fact "in warranty", but i thought: "this is easy, I do it myself!"
The handle of my right door was loose, and it was clear that it was only one (1) screw or not tightened enough.
Not that easy for three reasons:
- I had to remove the inside trim and everything behind it + the window to access the bolt!
- Explanation was (for me) not always very clear
- Some "necessary" actions were not necessary, for instance disconnecting the battery (but I didn't do it anyway)
I did it! Thanks to the not perfect and incomplete explanation, but nothing is perfect!
I will try to document it completely when I have some more time. Including images or video from the Ineos manual.
[EDITED] This was a win-win: a warranty work was executed by a customer! No travel time to my dealer and I learned a lot, and no warranty cost for Ineos!
Last edited:
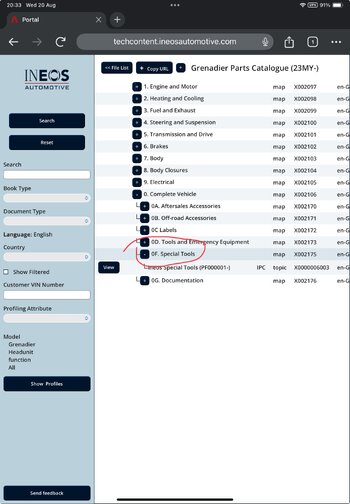
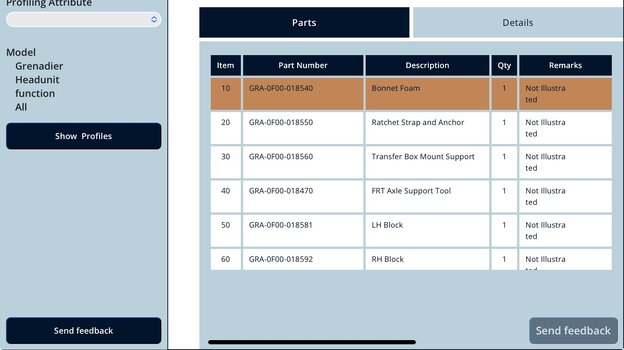
 Perfect. It does work on the iPad. I just hadn’t sussed that yet. Even better for the parts list.