I installed the Supra shifter today. I used Toyota part number 33550-WAA01 and basically followed the instructions that Owl Vans published on YouTube
here. I was able to remove my OEM shifter without damaging it and have a few tips on that.
Here are the tools I used - a T-10 bit driver, an X-Acto chisel blade, two plastic spudgers (used in electronics work), some tweezers and an O-ring pick.
Here's how I removed the OEM shifter panel that Owl said was glued on:
The sharp blade slips in quite easily compared to my plastic panel tools. Don't twist it! Then I slipped in a spudger to finish removing the panel. This outer plastic panel is actually held on with a thin double-sticky film tape. 3M sells the same stuff to hold body trim on and it's often avaialble at auto parts stores that carry body supplies. The tape does not cover the white letters (on the back side).
The chisel let me slide the spudger in easily. I slid the spudger up and down the right side, then pushed it in above the "R". The reason for this is that the white letters are backlit and there is no adhesive film there, so there's a small chance you could scratch the white plastic and it would telegraph the scratch when illuminated . . . so go above or below the letters and work the plastic panel off with the spudger.
The next step is to remove the lock button and I did this differently than Owl did:
Push the spudger in the hole as shown and it will release the lock button. Remove that, then pry off the black plastic piece (with the "P" still attached) by starting at the top with the X-Acto chisel followed by the spudger again.
The rest of Owl's instructions worked just fine. I did find one thing that really, really needed to be addressed. When I took the Supra shifter apart (per Owl's instructions), I thought to inspect the ribbon connector with a 10X loupe. Just out of college, I worked in electronics assembly and know these kinds of connectors ocassionally have problems. Sure enough, mine did:
I magnified the area of interest . . . see the bent pin? That lays dangerously close to the adjacent land on the ribbon cable, so I'm not sure this new shifter would have worked as received from Toyota. I bent the pin back in place and . . .
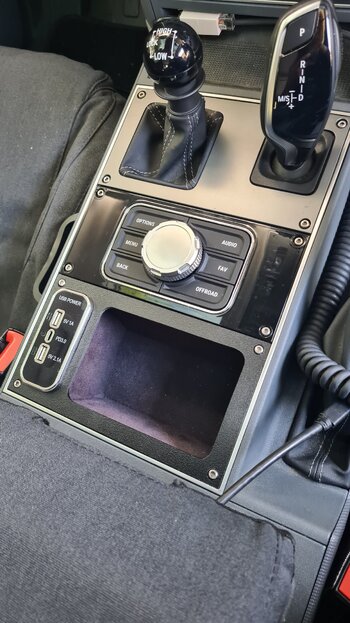
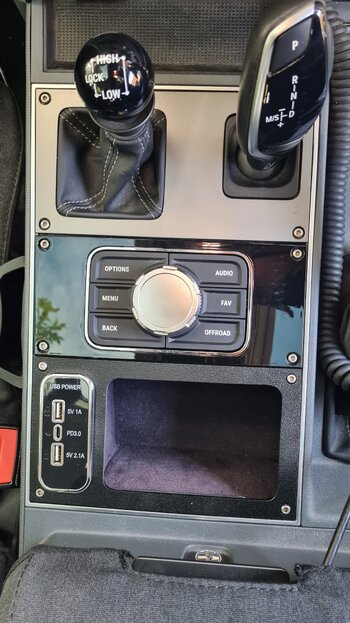
. . . everything works as expected. Yay! And I do like the look.


")