I currently have a Wolfbox G900 dashcam attached to the mirror. I also have a kit for attaching it directly to the window, but I don't know how to remove the original mirror. How did you do that ?
Sweet. How did you run the wire to the exterior camera? I have seen some people mount it inside the door behind the glass to keep it all inside the vehicle. Did you drill through the roof to pass the wire? I am going to install a wolf box as well when I get mine. Any other pics you can share would be awesome")
Did you completely replace the mirror or did you strap the screen over the top?
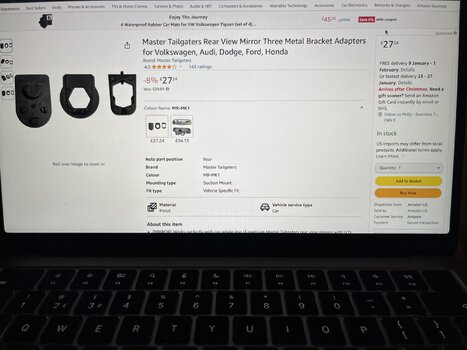
I purchased also the OEM mirror bracket, but it doesn’t fit.
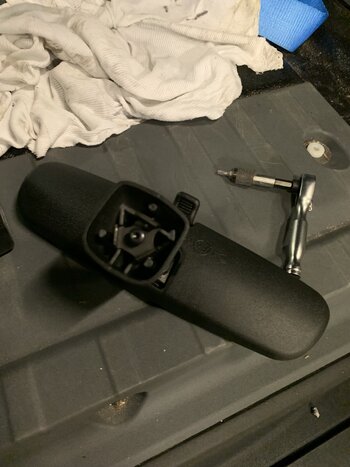
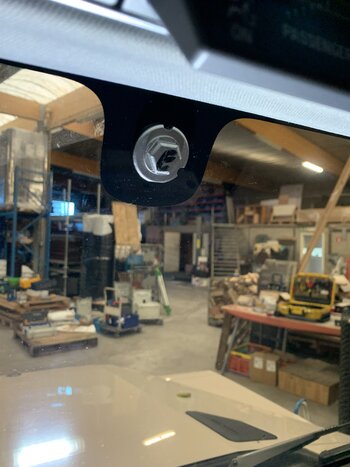
You need a square connection foot (who is glued on the windshield) The one from the Grenadier is round. Also, this connection should be glued lower on the window, because now the wiring is bouncing to the upper switch panel and you can’t adjust the mirror in height. So indeed I finally strapped the mirror on the existing mirror. Which works just fine. It’s fixed and it has no vibrations.
To remove the mirror you need to turn it counter clockwise. It will pop off, but you need to put some force on it. To reattach, same procedure but clockwise.
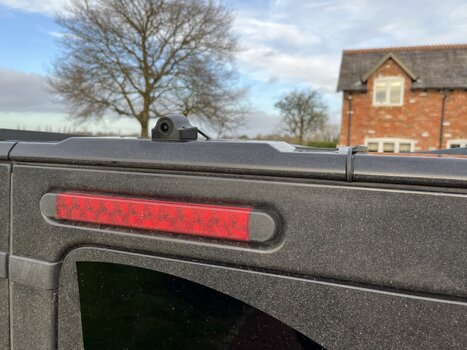
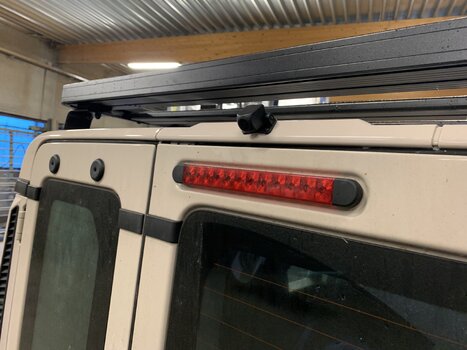
I had to drill a hole in the plastic cover where the camera is installed, but all the rest went smoothly without cutting or drilling.
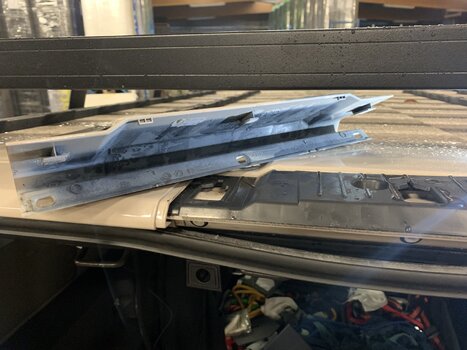
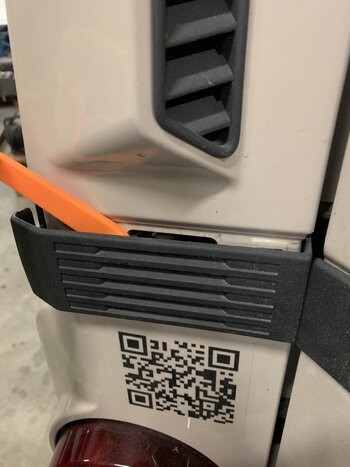
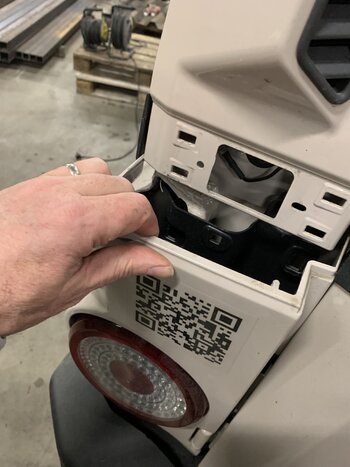
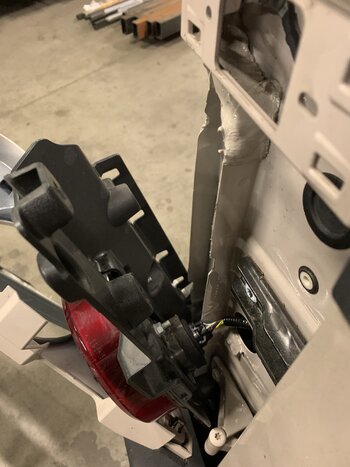
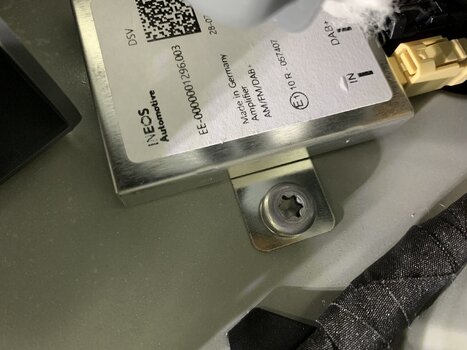
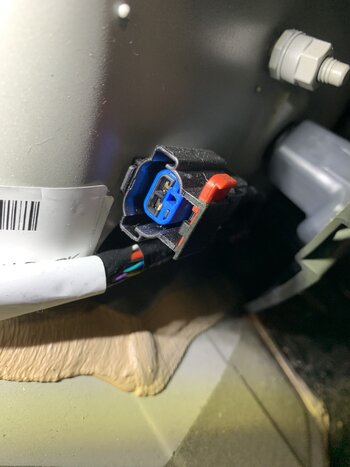
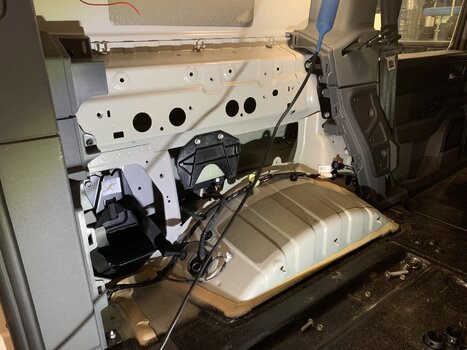
You can all simply de assembled and re assemble with some simple tools. I did run the wiring using the left post at the end to reach the cable from the rear light. Made the connection with the rear light wire (It’s the Purple/orange one) than needed to disassemble the side skirts to reach the B pillar. Then up to the roof to the A pillar. But in between I could just put the wiring behind the rubber seals. Then disassemble the cover at the A pillar (It’s just one screw) to route the power cables down to the fuse box under the steering wheel.
I ordered also the hardwire kit to make the connection in the fuse box.
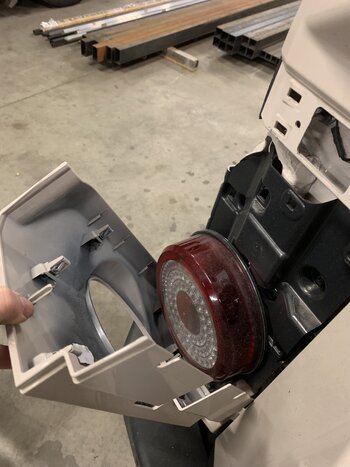
The connection from the camera to the rear light is just soldered together and then finished with some isolation tape.
")