The Grenadier Forum

Register a free account today to become a member! Once signed in, you'll be able to contribute to the community by adding your own topics, posts, and connect with other members through your own private inbox! INEOS Agents, Dealers or Commercial vendors please use the contact us link at the bottom of the page.

RTT Custom Direct Mount

Rowsham

Grenadier Owner
Lifetime Supporter
Local time
10:36 AM
Joined
Apr 23, 2025
Messages
33
Location
Houston, TX
Howdy everyone, looking for some guidance.
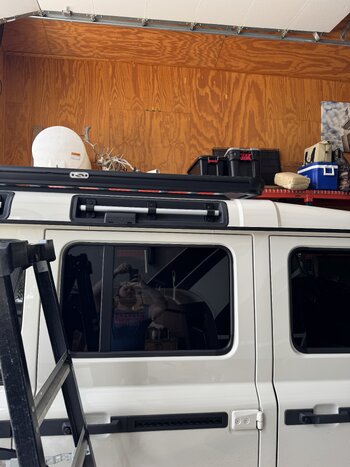
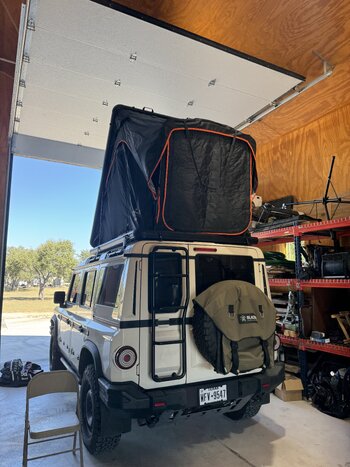
I've been researching mounts for my RTT and want to avoid a rack / bars if possible to keep the height down.

Looks like Dirtbox Overland makes a tent / mount combo, but I haven't seen much else from them and their website posting is pretty lacking of information.
GFC had a instagram post about their new line of tents that are direct mounts as well.

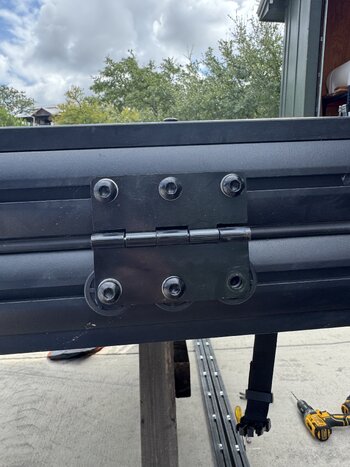
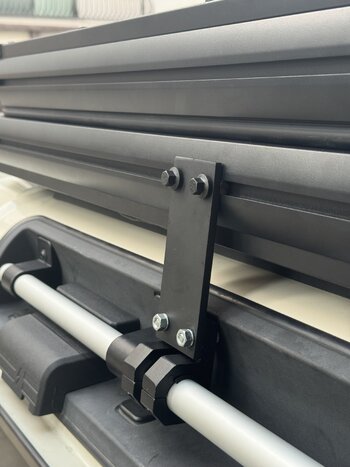
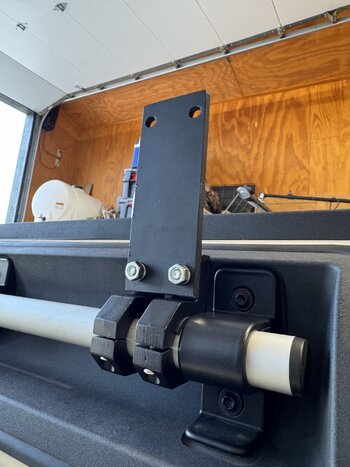
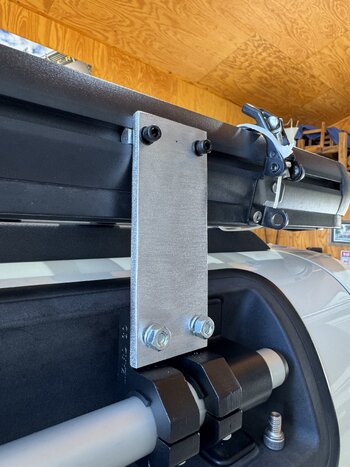
I've seen a few people on here that have made custom mounts and wondering how one would go about making one.
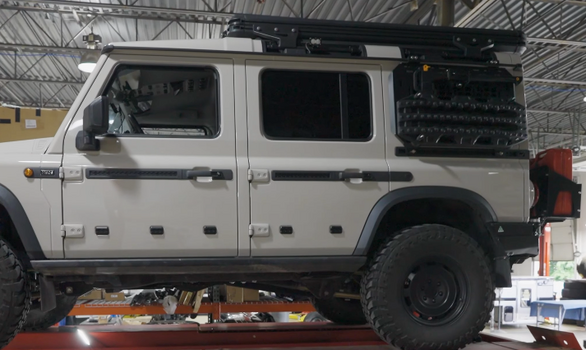
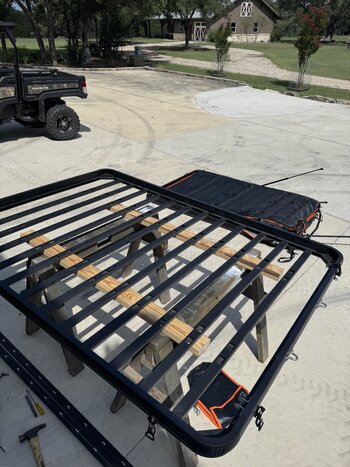
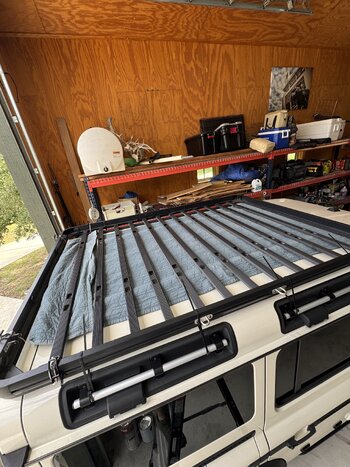
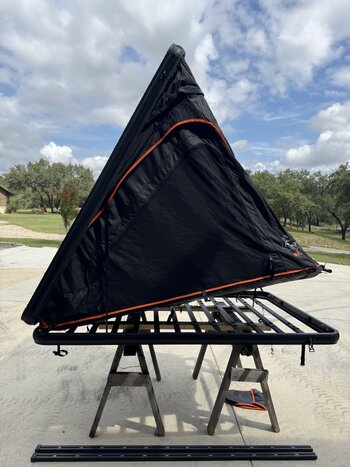
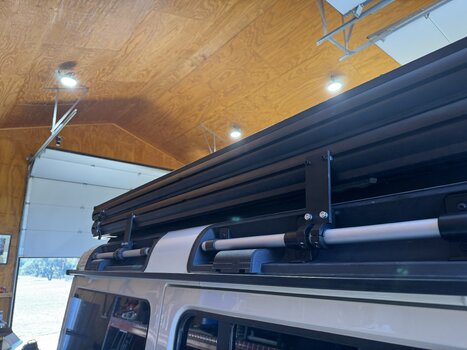
The RTT I have from my tacoma is from FSR, the Aspen Lite. It's right at 100 lbs 49.5 inches wide and with a T track rail.

Just looking for some insight!
 

Attachments

  • Screenshot 2025-08-14 at 8.18.59 AM.png
    Screenshot 2025-08-14 at 8.18.59 AM.png
    274.6 KB · Views: 108
  • Screenshot 2025-08-13 at 11.40.37 AM.png
    Screenshot 2025-08-13 at 11.40.37 AM.png
    462 KB · Views: 102
  • IMG_4001.PNG
    IMG_4001.PNG
    2.8 MB · Views: 110
  • Screenshot 2025-08-14 at 8.31.39 AM.png
    Screenshot 2025-08-14 at 8.31.39 AM.png
    3.9 MB · Views: 103
  • IMG_7963.jpeg
    IMG_7963.jpeg
    2.4 MB · Views: 110
Thats really clever!

I have a few year old Alucab rtt and I'm using their grenadier specific brackets, but they aren't as low profile as what you show here.
 
Following. Ive got an alucab on my current setup that I will mount to a grenadier if I order one.
 
A plan is forming!

I originally wanted to just put the tent up on the roof and get some measurements, ended up splitting the tent in two :oops:
The tent portion is just attached with several buckles and the top is connected by a large front hinge / struts. Once I separated the two halves I put the base up on the roof. It's damn near perfectly flush with the sides of the IG's roof. The bracket that I need to fabricate will basically be just a rectangular piece of aluminum / steel with a spacer or two.
And without the top half of the tent attached it'll make a great light weight roof rack! Here's to saving $500-1700!

Pretty excited to see where this goes...
 

Attachments

  • IMG_4676.jpeg
    IMG_4676.jpeg
    3.5 MB · Views: 62
  • IMG_4663.jpeg
    IMG_4663.jpeg
    3.7 MB · Views: 60
  • IMG_4668.jpeg
    IMG_4668.jpeg
    5.4 MB · Views: 57
  • IMG_4673.jpeg
    IMG_4673.jpeg
    6.2 MB · Views: 60
  • IMG_4666.jpeg
    IMG_4666.jpeg
    7.8 MB · Views: 57
  • IMG_4675.jpeg
    IMG_4675.jpeg
    4.7 MB · Views: 56
  • IMG_4659.jpeg
    IMG_4659.jpeg
    5.6 MB · Views: 57
Last edited:
Update on direct mounting the RTT:

I went a different route than I initially thought. Ended up using the roof bars as a mounting point. Found these bar clamps and aluminum pieces on amazon for pretty cheap. Before putting the RTT up, I attached foam rubber strips to the black plastic runners as a protective layer. Once up, figured out what lengths the brackets needed to be and cut/drilled.

Width is 49.5", almost perfect for the IG. The brackets angle in very slightly.
Even reached out to FSR and told them that this was a great platform for their tent.

I've been driving around for a few weeks now and it's rock solid. The tent is a bit tall (~6.5" with the bottom bars removed), but it only weighs 100 lbs so really can't tell it's there.

Making a solid (one piece) bracket is probably in my future, but for the ease / price point / time frame needed, couldn't beat it!

Heading up to the mountains this week to really test it out!

RTT - Aspen Lite
1/4" Aluminum
0.75-1" Bar Clamps
Foam Strips
(Assorted hardware)
 

Attachments

  • IMG_5286.jpeg
    IMG_5286.jpeg
    3.1 MB · Views: 3
  • IMG_5263.jpeg
    IMG_5263.jpeg
    7.3 MB · Views: 4
  • IMG_5259.jpeg
    IMG_5259.jpeg
    5.7 MB · Views: 4
  • IMG_5257.jpeg
    IMG_5257.jpeg
    7.3 MB · Views: 4
  • IMG_5255.jpeg
    IMG_5255.jpeg
    6 MB · Views: 5
  • IMG_5237.jpeg
    IMG_5237.jpeg
    3.5 MB · Views: 3
  • IMG_5232.jpeg
    IMG_5232.jpeg
    3.7 MB · Views: 3
  • IMG_5288.jpeg
    IMG_5288.jpeg
    6.4 MB · Views: 5
Back
Top Bottom