The Grenadier Forum

Register a free account today to become a member! Once signed in, you'll be able to contribute to the community by adding your own topics, posts, and connect with other members through your own private inbox! INEOS Agents, Dealers or Commercial vendors please use the contact us link at the bottom of the page.

Rooftop Solar on Factory Rack

Tom109

Grenadier Owner
Local time
10:43 PM
Joined
Jun 3, 2023
Messages
2,018
Location
New Jersey, USA
I've been planning solar support for my Engle MT45 for a while and finally have everything on-hand. It is a very simple system - factory dual battery set-up remains unaltered, the MPPT will be connected to the main battery allowing the 120s to meter charge to the auxiliary battery. The main components are,
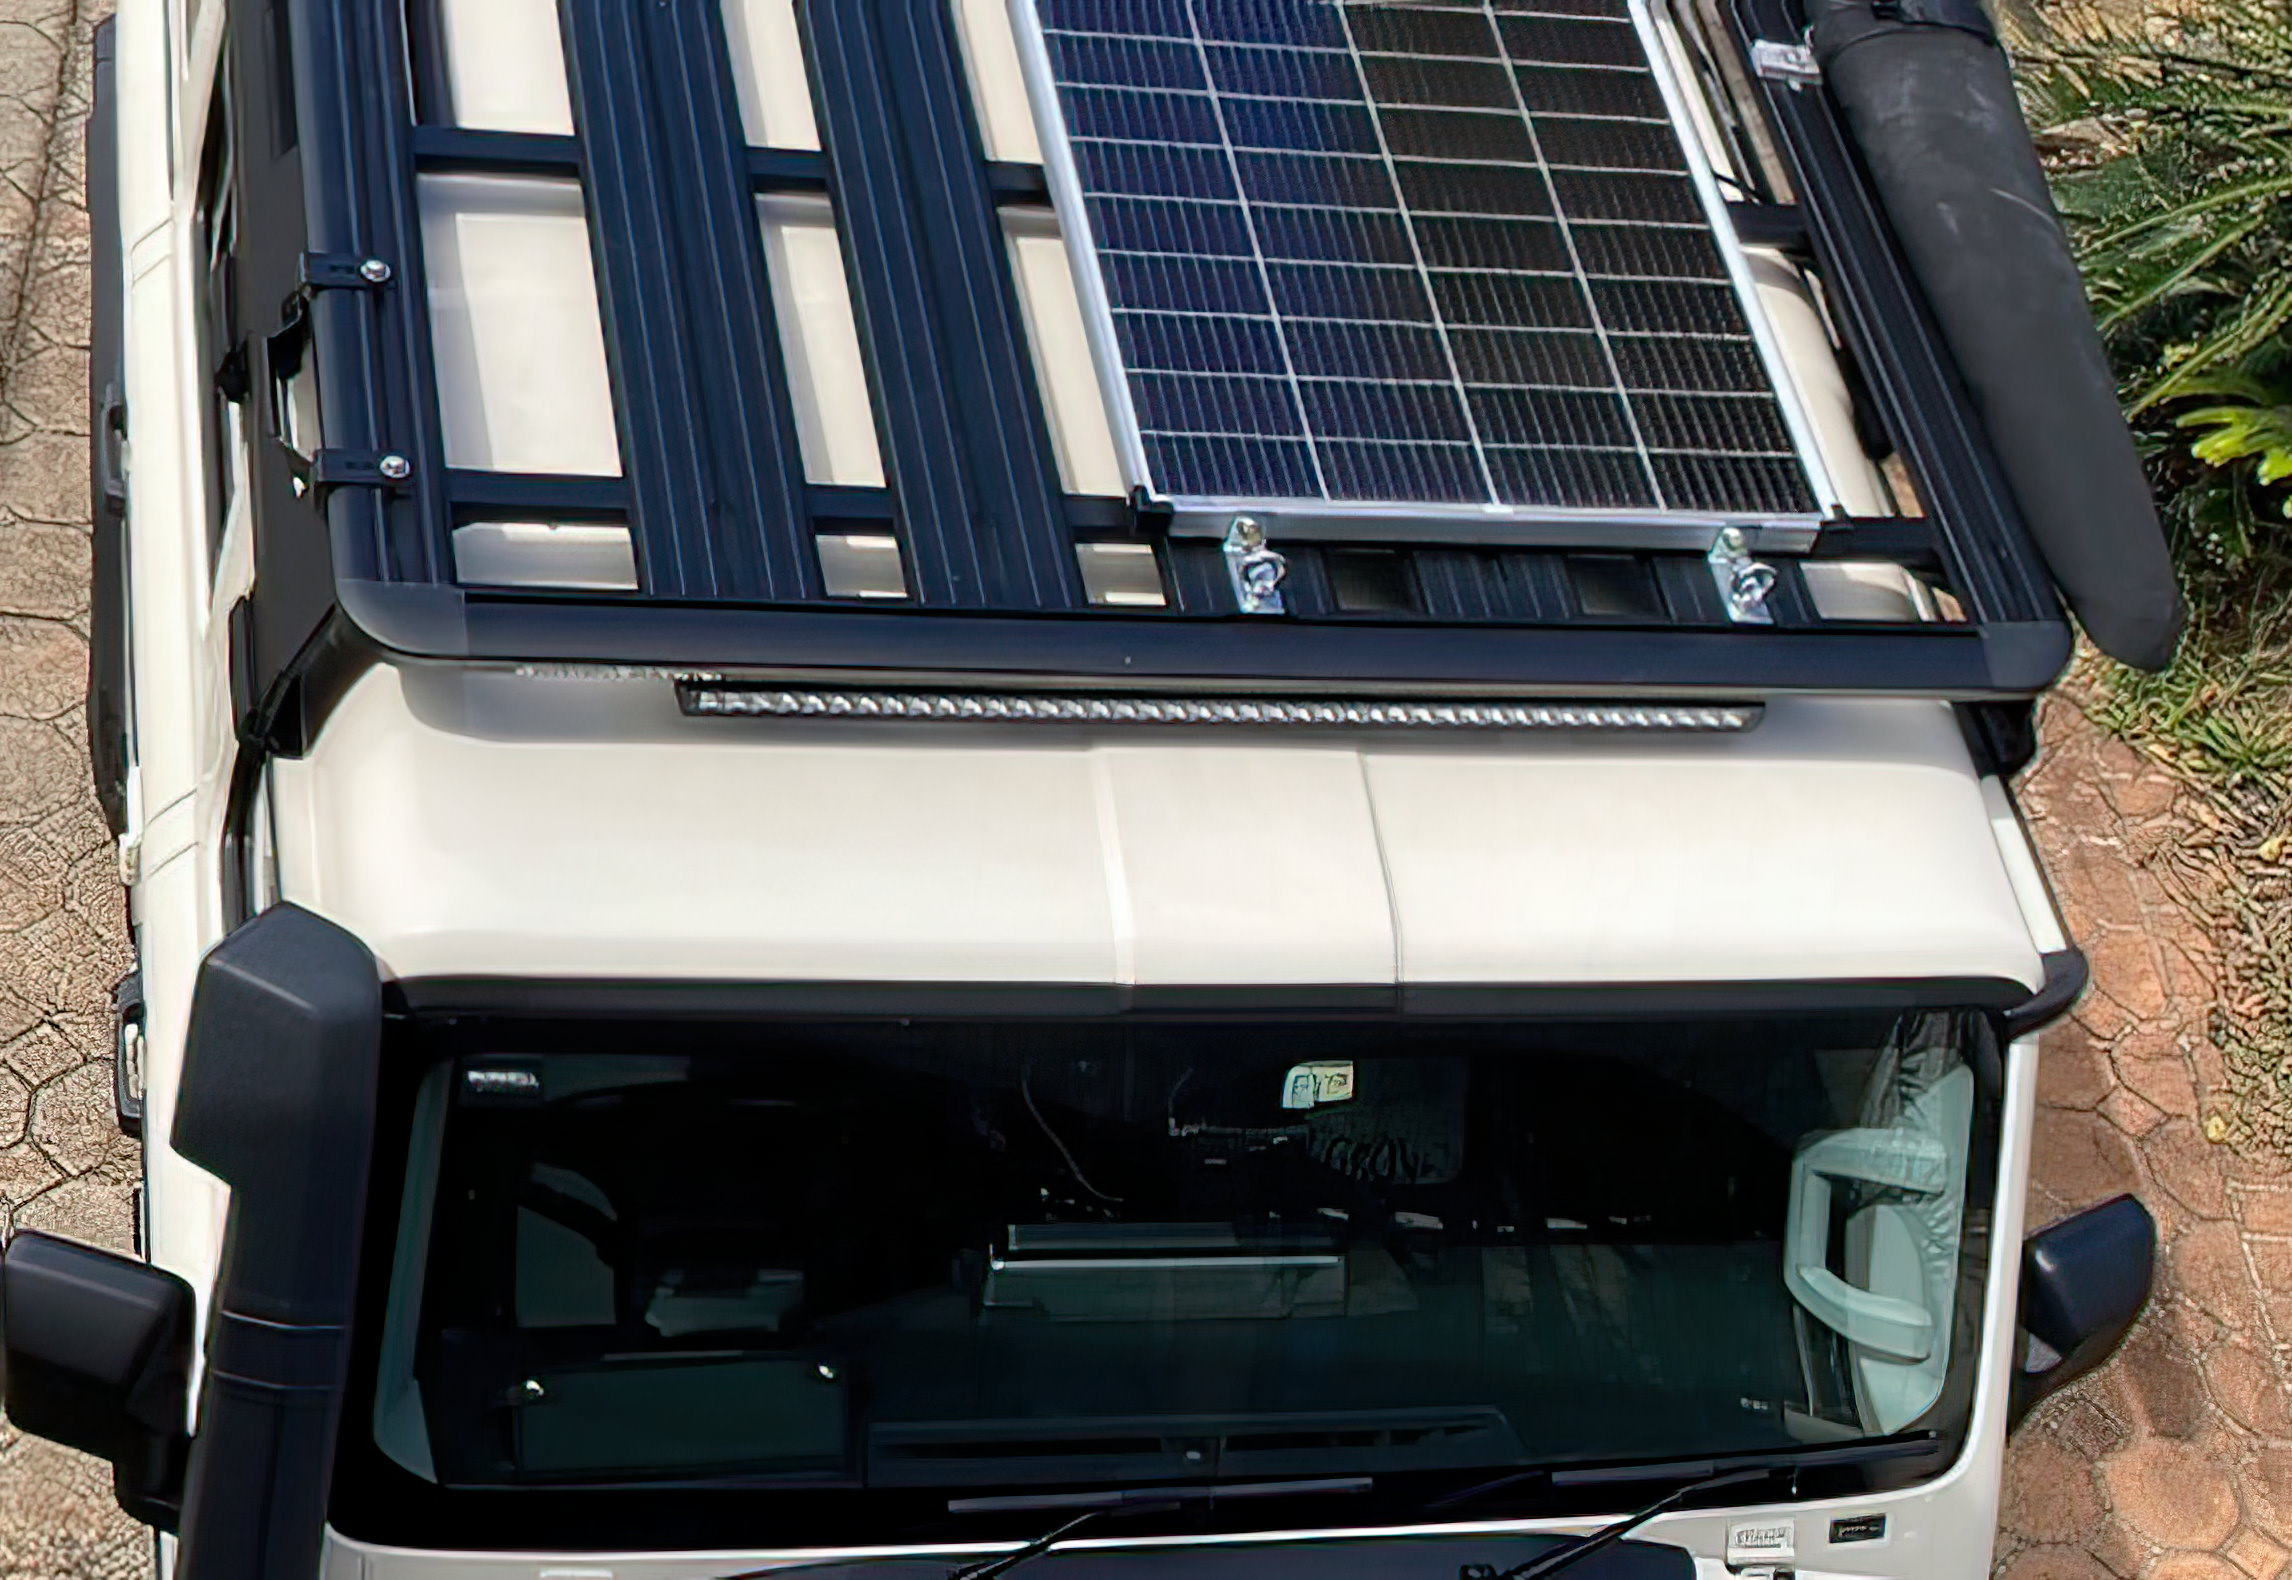
The system is planned as a full-time, semi-permanent installation. The panel will be mounted flush to the front section of the factory Rhino Rack. Panel brackets will be cut from aluminum angle, minimum four mounts depending on the final rack slot alignment. More details to follow as I start the installation. First order of business is choosing the cable route from roof to battery...
 
It looks like a sound design.

My solar panel is connected to the 250SE (mated to the 120S), cable routed down the B pillar. 160W solar panel. Secured using stainless steel eye bolts that I can attach tie down straps too, for more functionality. Using beefy L brackets from the hardware store.

I used the same design on the Nissan Patrol and the solar panel stayed in place after the massive head on and the panel was not broken! A field tested design.

full


IMG_8874-scaled.jpg
 
Last edited:
Baby steps. I cut the feet and they are currently sitting with a coat of etch primer. Tomorrow they’ll get a UV topcoat in black.

IMG_1555.jpeg
 
Baby steps. I cut the feet and they are currently sitting with a coat of etch primer. Tomorrow they’ll get a UV topcoat in black.

View attachment 7906583
You need to be careful when you drill the holes into the sides of the solar panel, allowing sufficient space from the panel surface, so the nut can be put on and tightened.

Place the nut on the side of the panel and work out where to drill the hole. Use the nut as a template.

This was the part of both installs I held my breath, as you must get it correct. I came close to getting it wrong, but managed to tighten the nut with about 1mm to spare.
 
Last edited:
Back
Top Bottom