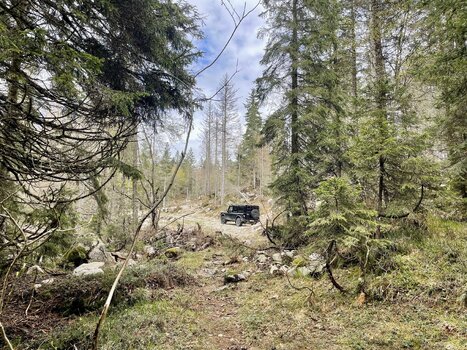
It was not today, but on Friday and Saturday that I mounted the Spanish Almont4WD bigger protection skidplates for the engine and gearbox.
First the rear “square” one, where I had to drill (not “re-drill” as mentioned on the instruction) the X-shaped original protection plate. This was the hard part, not really the drilling, but putting the furnished M10x70 screw; I had really to push up the plate with my hydraulic jack to be able to place the bolt, but even that wasn’t easy at all: almost no space to put my hand underneath. They should make that screw at least 5 mm longer.
View attachment 7895939
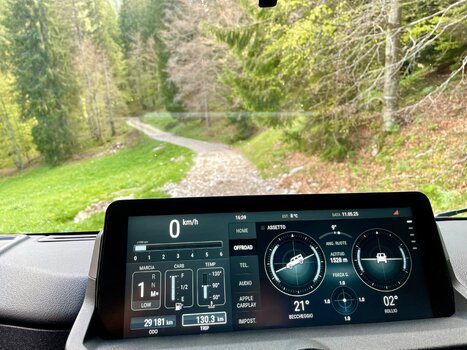
The installation of the front (rather triangular) plate was straightforward.
View attachment 7895940
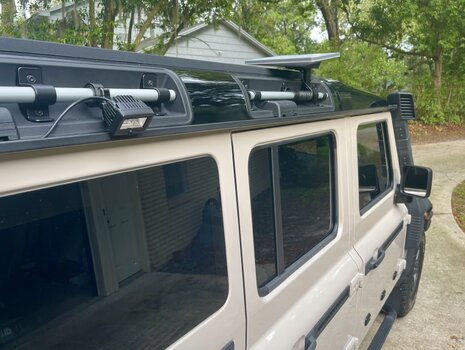
After doing that I went to one of my sons places where I used the Grenadier as a platform for cleaning his gutter, and part of the package of the Almont skidplate for protecting the roof from "more" scratches.
View attachment 7895941

")