I installed two UHF aerials and routed the aerial cables into the passenger’s footwell (thanks to the Canny Outdoors video).
TWO RFI UHF AERIALS (RHD vehicle)
One aerial was on the driver’s side, the other on the passenger’s side. I routed the driver’s side cable (inside 7mm split tubing) through the headlight surround. I found it best to feed the cable through the top gap of three gaps on the headlight surround. I fed the cable across to the passenger side, I managed to cable tie the split tubing onto other wiring running across the grill area (I made need to do more work on this). Now the driver’s side aerial cable is with the passenger’s side cable. I then fed both aerial cables into the engine bay (see Canny video). Up to this point both aerial cables were in their own thin split tubing (7mm split tubing). Once in the engine bay I fed both aerial cables into thicker 10.7mm split tubing. I fed the thicker split tubing down the engine bay into the passenger’s footwell (see Canny video).
I then used waterproof loom tape and zip ties to secure the cabling at various places from both aerial brackets into the engine bay. For internal use I just use the fleece tape (not waterproof).
Tip: try to protect the end of the aerial cable that plugs into the UHF during installation and routing. It can be easily damaged. Often, I used the waterproof loom tape to protect the end when feeding or attaching it to another cable to help feeding.
FOOTWELL POWER
Footwell power wire ends were terminated with Deutsch DT plugs (the circuit is rated at 10 amps so I did not need DTP plugs). I then attached a power splitter so I could plug in both UHF head units over the weekend. Power cables on the UHF head units were fitted with Deutsch DT plugs.
TESTING
All headsets, head units, power splitter and aerial cables were tested before installation. The multimeter comes in handy. It helped to identify a problem with a mate's UHF power cable I was testing at the same time as my equipment.
RESTYLED NUMBERPLATE
The restyled number plate arrived - the Australian flag like my old car. Now installed. The numberplate attachment is very flimsy in Australia. Problem fixed with Marine Goop and 3M double sided tape.

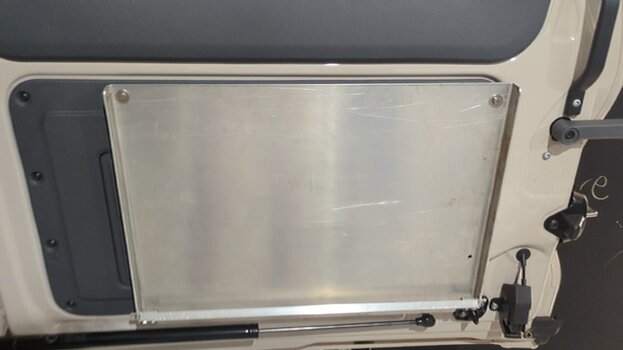
The following image shows where the cable was run from the driver's side aerial (left of screen) across to the passenger's side. The cable goes from the aerial on the left into the headlight surround down to where you see the green line. On the right side is where the other aerial cable was routed, marked by the green arrow When I had both cables in place behind the headlight surround I fed them up into the engine bay. I screwed the headlight surround back in place after I was happy with the cable routing.

AERIALS FITTED
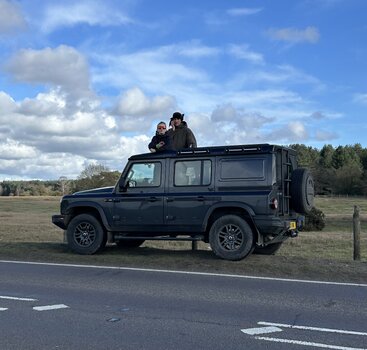
The aerial on the left of screen is the RFI CD63 Black 6.5dbi removable aerial. It is very thin, so the driver’s vision is barely impacted. The twists you see 1/2 down the whip is there to absorb vibrations/corrugations. When traveling across corrugations I call it the hula girl.") This aerial is fitted to a GME TX3520S.
This aerial is fitted to a GME TX3520S.
The aerial on right of screen is the RFI CD961-71-75. It has interchangeable antenna whips which operate at 6.5dBi and 3dbi. The 3dbi whip is tiny at about 10cm long. The larger 6.5dBi antenna is fitted in the picture. This aerial is fitted to a GME XRS390C. I have a GME XRS-BT1 hands free kit to install on the GMEXRS390.
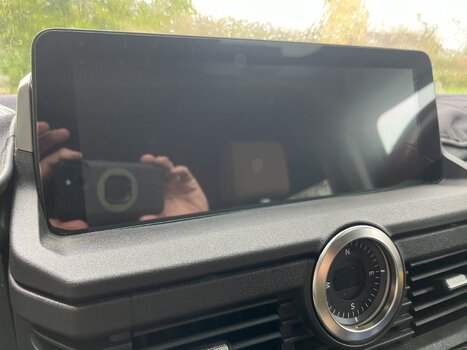
The handsets are mounted on the passenger's side of the centre console, using the Brodit bracket.
TWO RFI UHF AERIALS (RHD vehicle)
One aerial was on the driver’s side, the other on the passenger’s side. I routed the driver’s side cable (inside 7mm split tubing) through the headlight surround. I found it best to feed the cable through the top gap of three gaps on the headlight surround. I fed the cable across to the passenger side, I managed to cable tie the split tubing onto other wiring running across the grill area (I made need to do more work on this). Now the driver’s side aerial cable is with the passenger’s side cable. I then fed both aerial cables into the engine bay (see Canny video). Up to this point both aerial cables were in their own thin split tubing (7mm split tubing). Once in the engine bay I fed both aerial cables into thicker 10.7mm split tubing. I fed the thicker split tubing down the engine bay into the passenger’s footwell (see Canny video).
I then used waterproof loom tape and zip ties to secure the cabling at various places from both aerial brackets into the engine bay. For internal use I just use the fleece tape (not waterproof).
Tip: try to protect the end of the aerial cable that plugs into the UHF during installation and routing. It can be easily damaged. Often, I used the waterproof loom tape to protect the end when feeding or attaching it to another cable to help feeding.
FOOTWELL POWER
Footwell power wire ends were terminated with Deutsch DT plugs (the circuit is rated at 10 amps so I did not need DTP plugs). I then attached a power splitter so I could plug in both UHF head units over the weekend. Power cables on the UHF head units were fitted with Deutsch DT plugs.
TESTING
All headsets, head units, power splitter and aerial cables were tested before installation. The multimeter comes in handy. It helped to identify a problem with a mate's UHF power cable I was testing at the same time as my equipment.
RESTYLED NUMBERPLATE
The restyled number plate arrived - the Australian flag like my old car. Now installed. The numberplate attachment is very flimsy in Australia. Problem fixed with Marine Goop and 3M double sided tape.
The following image shows where the cable was run from the driver's side aerial (left of screen) across to the passenger's side. The cable goes from the aerial on the left into the headlight surround down to where you see the green line. On the right side is where the other aerial cable was routed, marked by the green arrow When I had both cables in place behind the headlight surround I fed them up into the engine bay. I screwed the headlight surround back in place after I was happy with the cable routing.
AERIALS FITTED
The aerial on the left of screen is the RFI CD63 Black 6.5dbi removable aerial. It is very thin, so the driver’s vision is barely impacted. The twists you see 1/2 down the whip is there to absorb vibrations/corrugations. When traveling across corrugations I call it the hula girl.
This aerial is fitted to a GME TX3520S.The aerial on right of screen is the RFI CD961-71-75. It has interchangeable antenna whips which operate at 6.5dBi and 3dbi. The 3dbi whip is tiny at about 10cm long. The larger 6.5dBi antenna is fitted in the picture. This aerial is fitted to a GME XRS390C. I have a GME XRS-BT1 hands free kit to install on the GMEXRS390.
The handsets are mounted on the passenger's side of the centre console, using the Brodit bracket.
Last edited:


 box on the drive. Everything was driven up to those so I could get visitors cars on the drive as well.