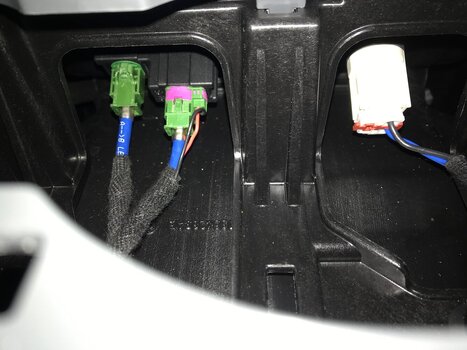
Today I decided to fit an ARB compressor (single) into the space by the auxiliary battery and connect it to the Ineos fitted wiring points in that same place.
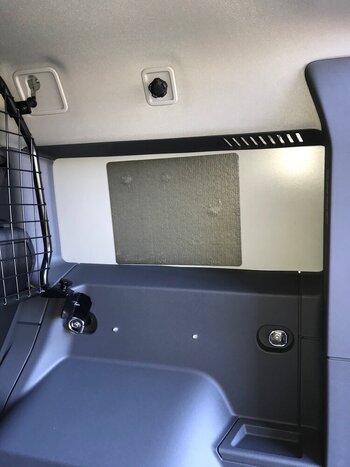
If I was doing it again, I may take the rear seat out. I didn’t, and managed to work around the plastic panels under the seat, but it was fiddly and awkward. Probably took longer.
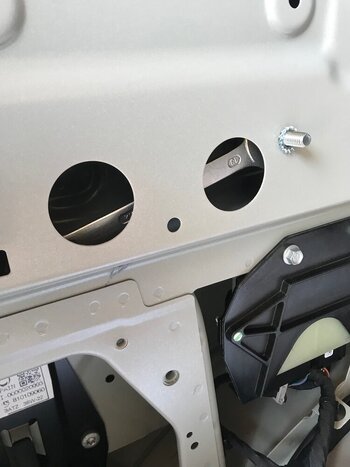
First I made up a bracket to hold the compressor. Two small pieces of 30mm box and a small piece of 3mm plate (I had these bits in the shed - they are certainly strong enough). I used the box to fit over the four existing 8mm studs in the floorpan and then fixed the plate to the box using rivnuts. I inserted some strips of soundproofing between the box and the floorpan, and then between the box and the plate. This has really damped out any vibration from the pump.
View attachment 7817903
View attachment 7817904
I connected the wiring loom using solder and heatshrink. I had intended to use Deutsch DTP connectors, but the cable was too thick. Do this before you put the pump in place as there is no room when it’s in position.
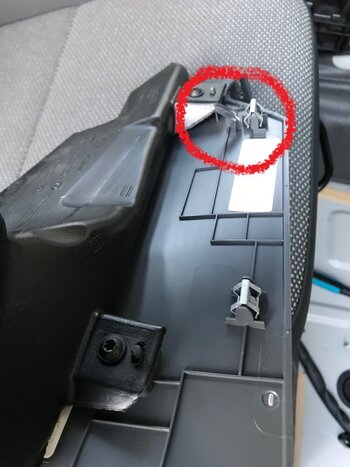
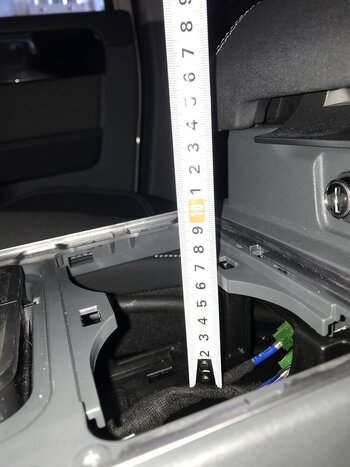
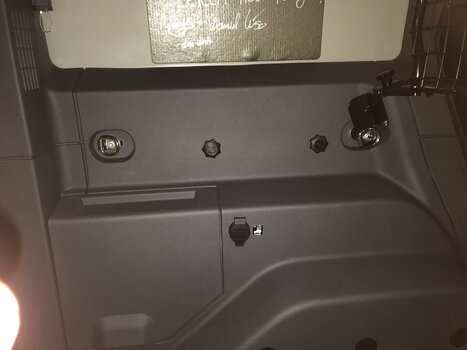
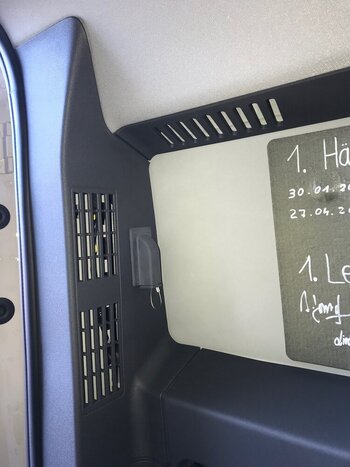
I decided to have the switch and the air outlet in the rear. There’s plenty of space behind the right hand rear panel to run the loom and the air hose.
The one compromise I made was to drill a hole in the plastic panel under the seat to get the air hose and loom out. If you took the seat out, you could avoid this. I decided to compromise, because once the rear seat is in place, you have to bend down and look really close to see the hose.
View attachment 7817907
View attachment 7817908
View attachment 7817906
View attachment 7817905
View attachment 7817909
Overall I’m pleased with the outcome.
As I was in there with the rear panel off, I thought it would be rude not to fit a couple of extra 12v sockets. I managed to run a cable all the way to the front footwell without much problem. The sad thing is, I then couldn’t find the outlet wires on the right hand side. I’ve checked other helpful threads from
@Jean Mercier and
@rovie, but mine are not easy to spot.
That was a bit frustrating!