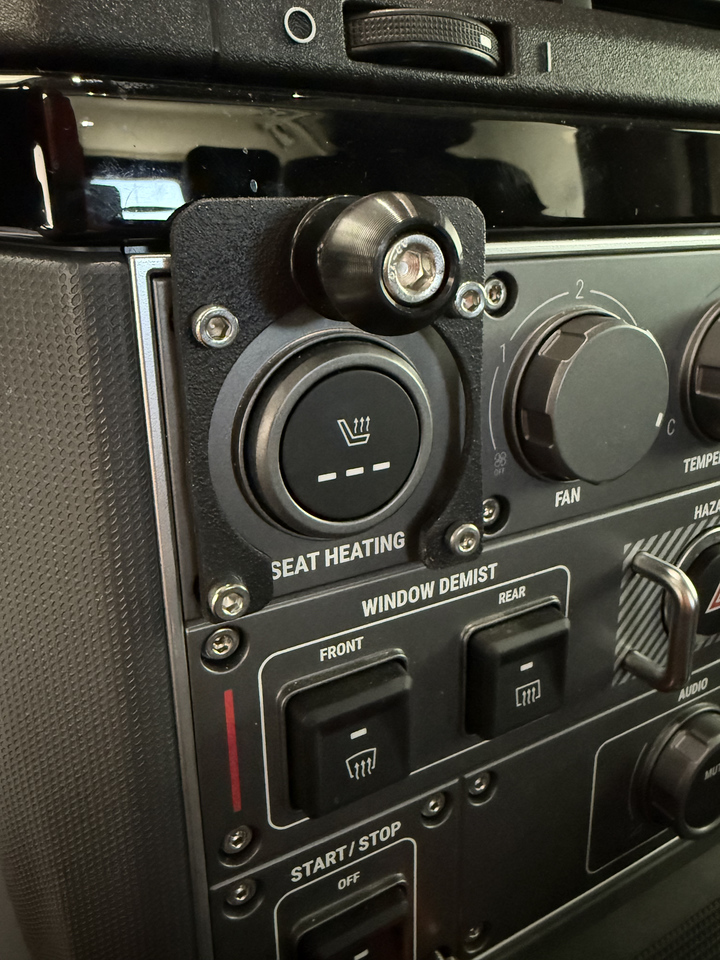
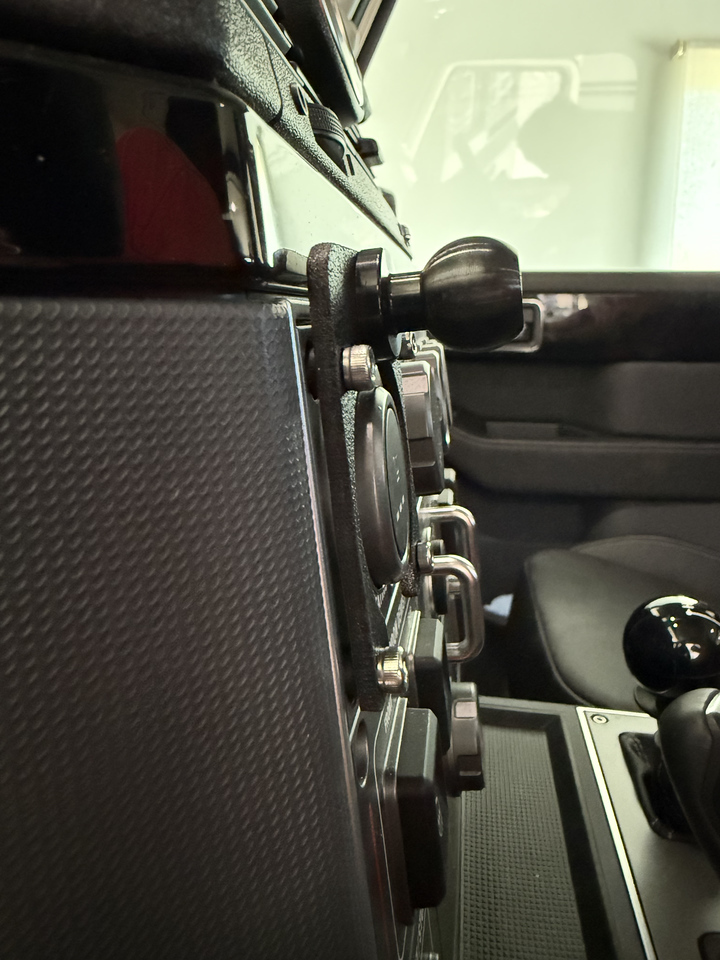
This is my mount, is from agile off-road. Really happy with it.

Bullet point ultra short Arm + cradle.

Bullet point ultra short Arm + cradle.
Register a free account today to become a member! Once signed in, you'll be able to contribute to the community by adding your own topics, posts, and connect with other members through your own private inbox! INEOS Agents, Dealers or Commercial vendors please use the contact us link at the bottom of the page.
I think we could retail them for US$25-$30 on the forum store, with proper fasteners.@BenTN They look great. I'd buy one.
Yea, I dug out an old soldering iron and filed the end to fit the insert.
Your screw question sent me on a journey. I'm sure I had thread pitch gauges in my toolbox at some point. Where they went after the move to Australia five years ago remains a mystery.
I think the stock original screws are standard Metric M4 with 0.7 pitch, which is the size I'm using for the longer replacements.
On the left is a screw taken from the horizontal panel next to the cup holder. I recon it just goes into plastic so it doesn't really matter all that much. In the centre is one of the original cap screws. On the right, one of the replacement cap screws I'm using.
I tried the original screw in a standard M4 nut and it fits just fine like I would expect, as do the replacement screws I'm using.
View attachment 7885436
Ooo I like that. Thanks for sharing.this is my solution with Quad Lock


Go to Resources and add the .STL there. What is your next design?The rail looks like a really good idea. You could get all sorts of things attached to it. It makes my attempt look kind of feeble.
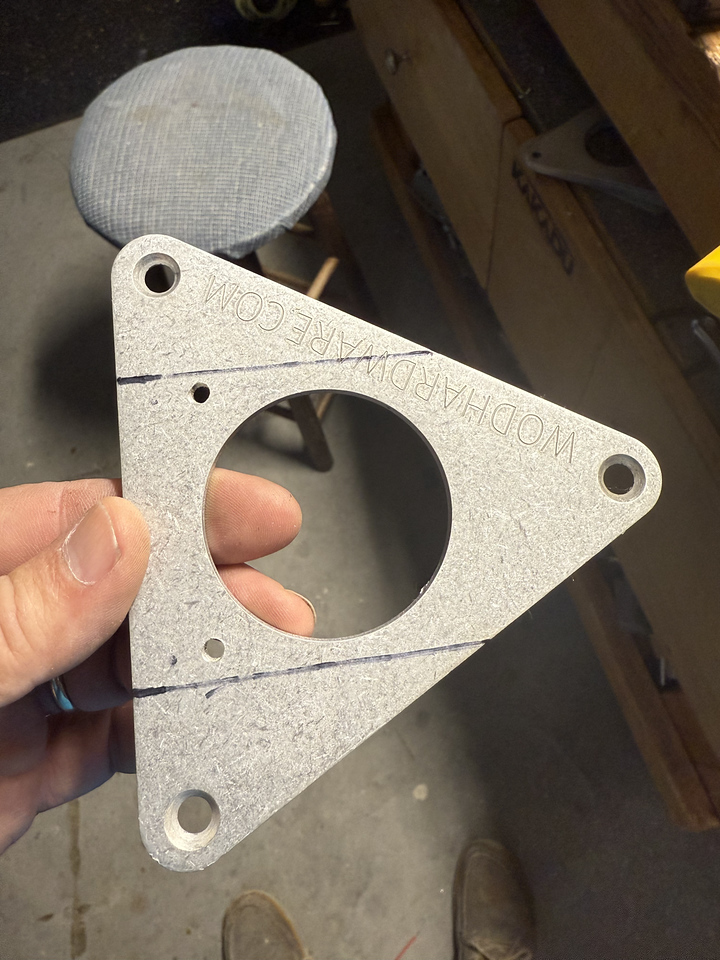
My first go at printing anything with the Bambu Labs X1C. This is my new favourite gadget.It took me a lot longer to draw the stuff in Fusion (free version) than it did to print them. It's a pretty steep learning curve.
The first design was with a printed threaded hole to screw a 1/4-20 ball into and then an arm to a phone holder. My partner said, "Why don't you just print the ball as well?" so I did. The screw in balls have a rubber coating that makes it grip better but the arm clamped on the printed ABS ball seems to hold pretty good. I need to do some testing to see it will last.
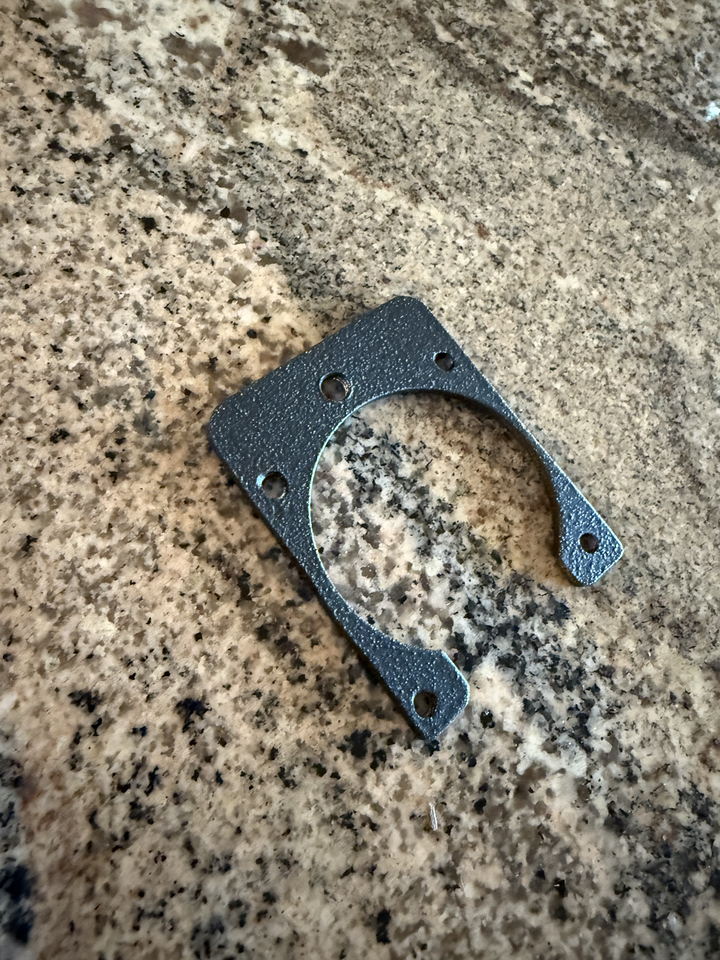
Not everyone has heated seats so I did a version for that with the ball. The printed threads didn't seem all that durable so I got some threaded inserts that press melt in with a soldering iron. Doing a tapered hole just the right size for the insert took me ages to figure out in the software.
I haven't figured out how to attach .stl files to posts. It shows an error when I try. If anyone wants the .stl files just let me know and I'll try and figure out a way to post them on here.
The original cap head bolts need to be replaced. It takes 3 x 4m x 16mm and 1 x 4m x 40mm.
I really like the way you moved stuff off to the side. I think that looks really good, following the radius of that corner.
I'd like those for the lowest switches. Start-Stop on the left side and Park Assist on the left... But they have to be adjusted to these mounting points.
