
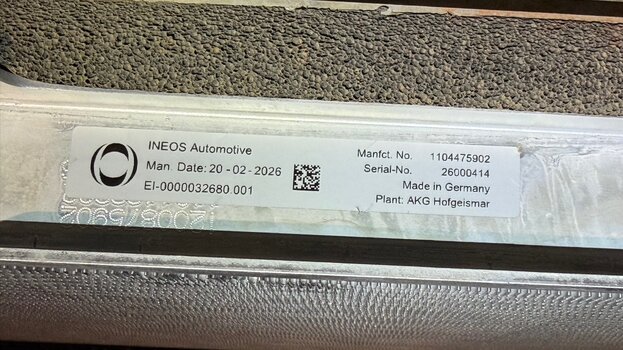
After just over 88K miles, my HT radiator decided it was time to punch out and retire. After quite an adventure procuring one, it FINALLY arrived Monday afternoon and quickly decided it was too late to change it out and I wanted to get on the road. Decided to pack it with me along with fluid, just in case. But as I was about the head out I had visions of the radiator letting go on a mountain pass late at night, with cold temps.
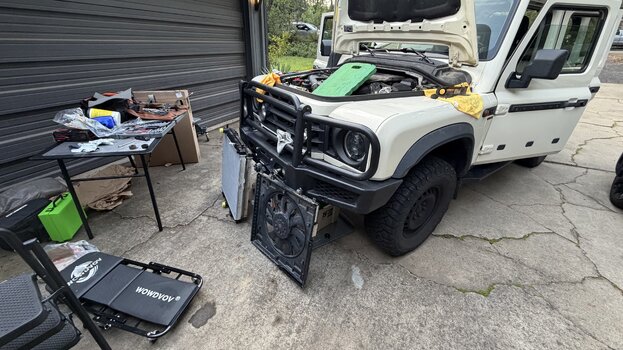
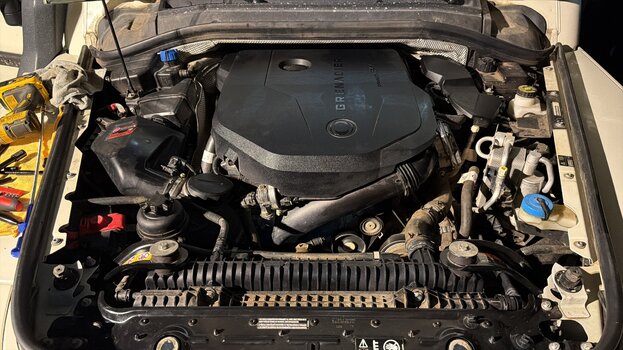
So I decided to YOLO the swap in my driveway l, and all said and done, it wasn’t horrible. A LOT easier than my Rovers. The Ineos manuals were actually pretty good, but there are several pain points if you’re gonna DIY it:
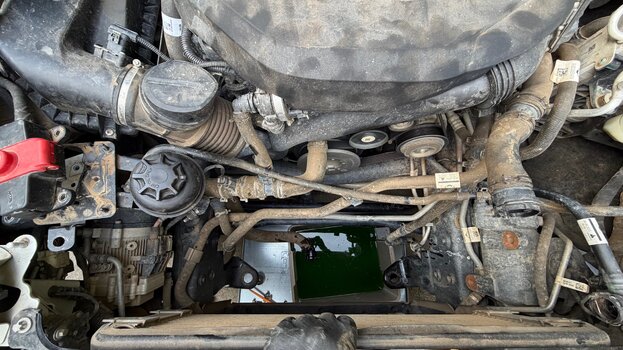
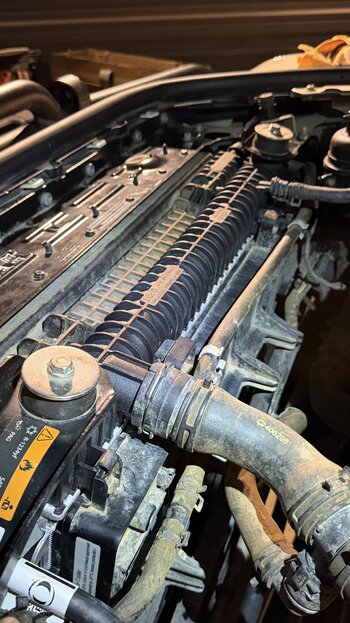
1 - To access the three nuts securing the top right radiator bracket, you’ll need to move the power steering pump reservoir out of the way, but to do that, you need to remove the positive terminal lug housing to gain access to terminal bolts and two screws. There’s not really any help in the maintenance procedure on how to do that.
2 - There are four bolts securing the low-temperature cooler to the mini coil oler in front of it, and sandwiched between those mounting flange points are a washer. Getting them back in there is tricky but it has to be done for proper clearance. The washer is basically a spacer.
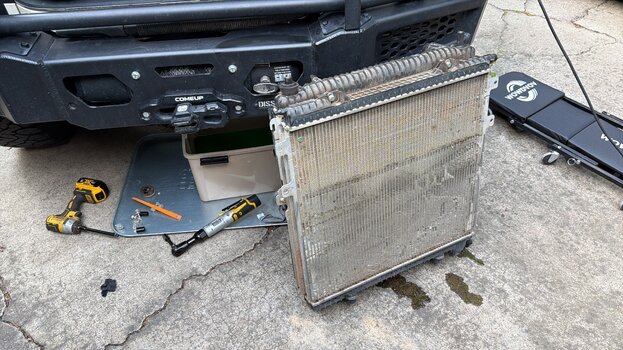
3 - I removed the radiators and fans all as one, and it’s a tad heavy. Having help if you remove it that way is better. For reinstall I placed the radiators in first, then the fan. Easier but a second set of hands is way more practical.
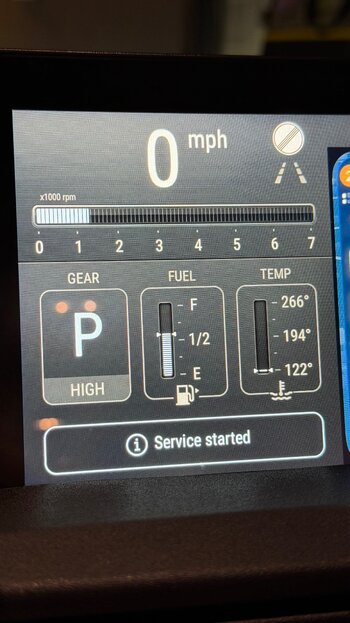
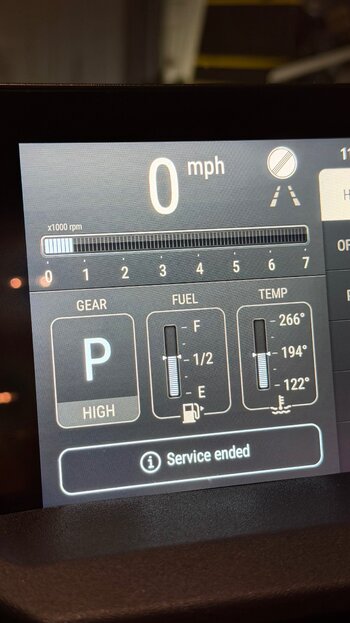
4 - There’s an alternate automatic bleed procedure if you don’t have a vacuum filler tool. It was late at night and didn’t want to use my noisy air compressor. I specific guided procedure activates the Grenadier into an 11-minute automatic cooling system self-bleed. Worked great.
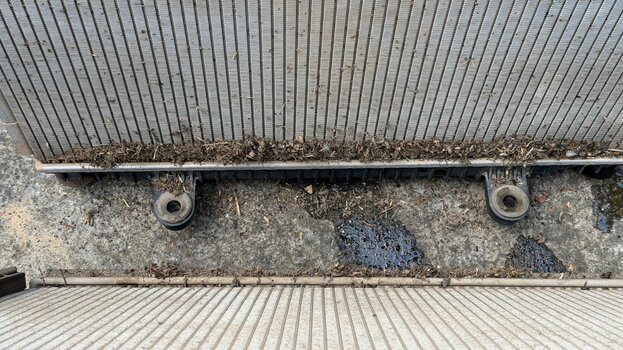
With the radiators separated, grab your vacuum, I had sand dunes at the bottom lol
Other than that, block out about 5-6 hours the first time you do it, should be half that the next time.
I used Zerex HT-12 coolant (concentrate, so I mixed 50/50 with H2O). My original coolant was perfect in color.
Huge shoutout to Rick for some key details and insight!
So I decided to YOLO the swap in my driveway l, and all said and done, it wasn’t horrible. A LOT easier than my Rovers. The Ineos manuals were actually pretty good, but there are several pain points if you’re gonna DIY it:
1 - To access the three nuts securing the top right radiator bracket, you’ll need to move the power steering pump reservoir out of the way, but to do that, you need to remove the positive terminal lug housing to gain access to terminal bolts and two screws. There’s not really any help in the maintenance procedure on how to do that.
2 - There are four bolts securing the low-temperature cooler to the mini coil oler in front of it, and sandwiched between those mounting flange points are a washer. Getting them back in there is tricky but it has to be done for proper clearance. The washer is basically a spacer.
3 - I removed the radiators and fans all as one, and it’s a tad heavy. Having help if you remove it that way is better. For reinstall I placed the radiators in first, then the fan. Easier but a second set of hands is way more practical.
4 - There’s an alternate automatic bleed procedure if you don’t have a vacuum filler tool. It was late at night and didn’t want to use my noisy air compressor. I specific guided procedure activates the Grenadier into an 11-minute automatic cooling system self-bleed. Worked great.
With the radiators separated, grab your vacuum, I had sand dunes at the bottom lol
Other than that, block out about 5-6 hours the first time you do it, should be half that the next time.
I used Zerex HT-12 coolant (concentrate, so I mixed 50/50 with H2O). My original coolant was perfect in color.
Huge shoutout to Rick for some key details and insight!
Attachments
-
 IMG_2446.jpeg3.2 MB · Views: 0
 -
 IMG_2447.jpeg6.8 MB · Views: 0
 -
IMG_2448.mov10.6 MB
-
IMG_2449.mov21.2 MB
-
 IMG_2450.jpeg6.8 MB · Views: 0
 -
 C1171226-0C58-4297-9415-152DB225E640.jpeg5.3 MB · Views: 0
 -
 IMG_2452.jpeg4.8 MB · Views: 0
 -
 IMG_2457.jpeg6.6 MB · Views: 0
 -
 IMG_2459.jpeg3.2 MB · Views: 0
 -
 IMG_2461.jpeg5.8 MB · Views: 0
 -
 38010941-1541-4E8D-8FE7-B496B54FA3C3.jpeg3.9 MB · Views: 0
 -
 IMG_2463.jpeg4.2 MB · Views: 0
 -
 IMG_2467.jpeg3.4 MB · Views: 0
Last edited:


