Today I finally installed my CTEK D250SE DC/DC battery charger in parallel with the Smartpass 120S.
I thought I was well prepared, but it took me some 4 hours to finish the job, due to some unexpected issues.
I had already prepared a “BAS” plate (see posts above at the beginning of this thread), but ooh surprise , in my 5 seat Trialmaster the space is different compared to an utilitarian vehicle, I wasn’t aware.
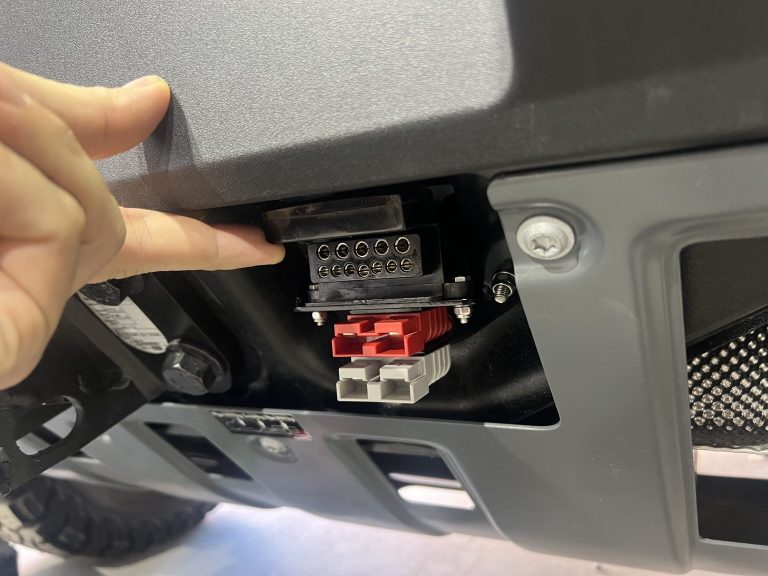
The plate got stuck at the places of the arrows:

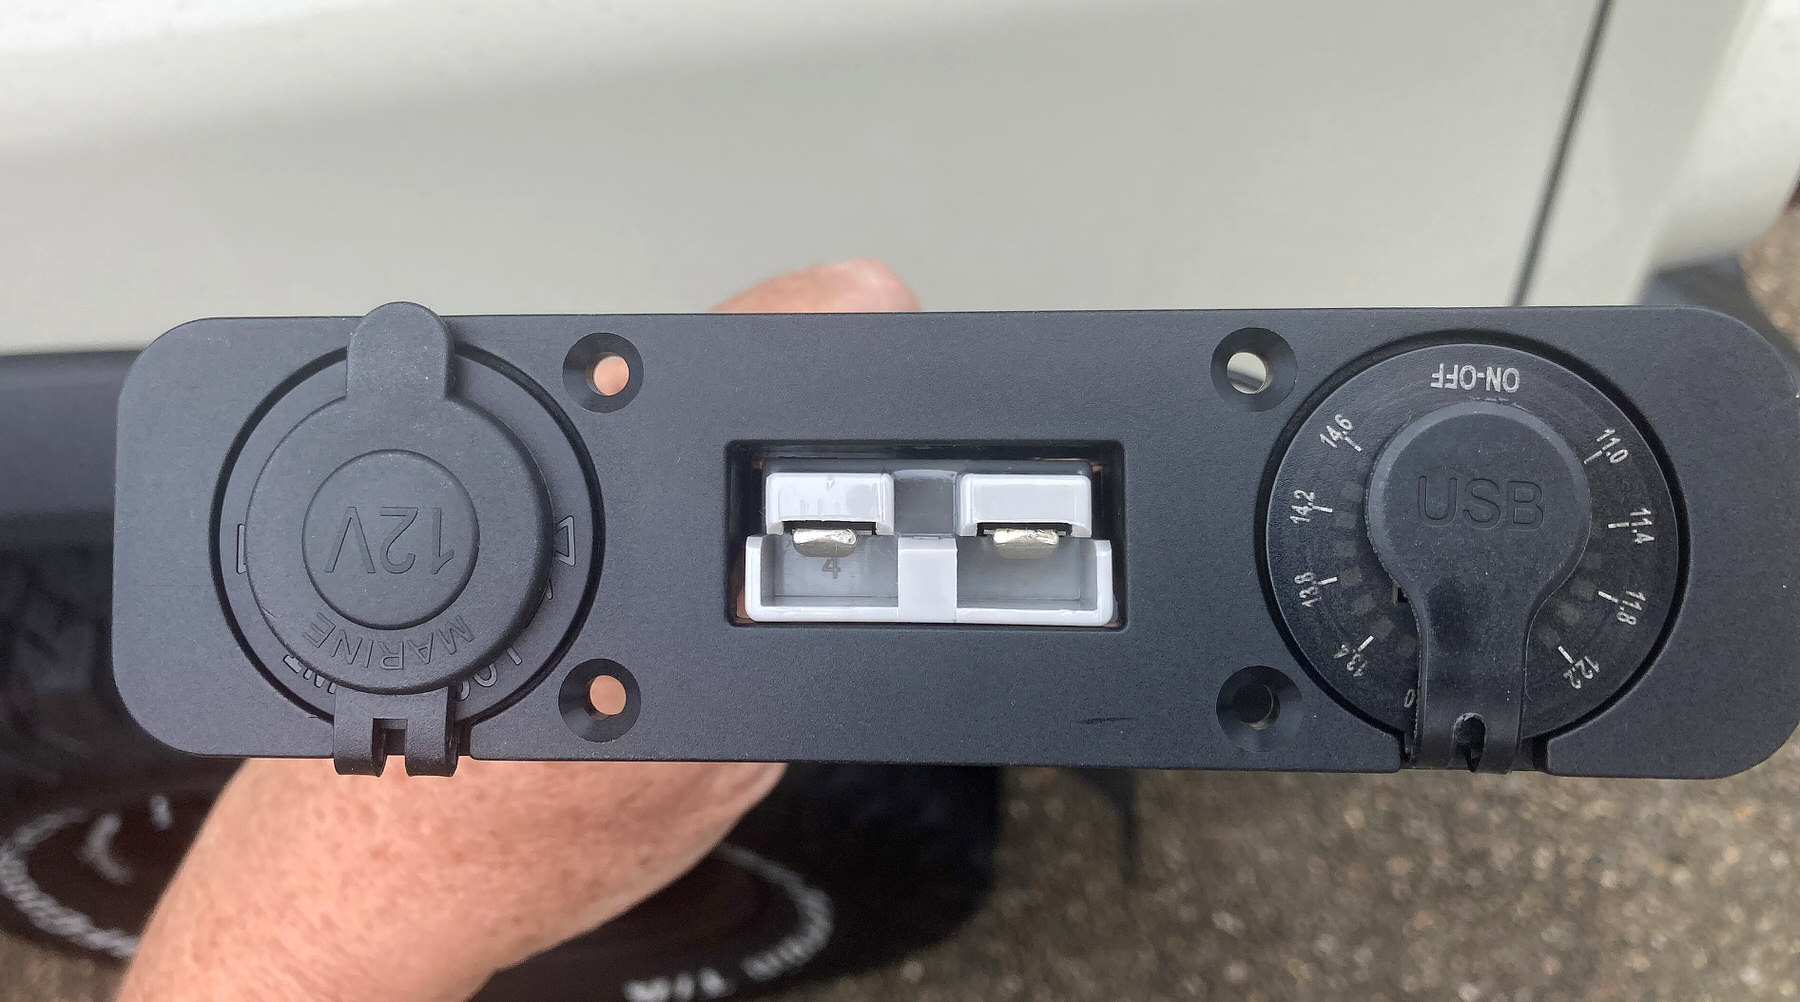
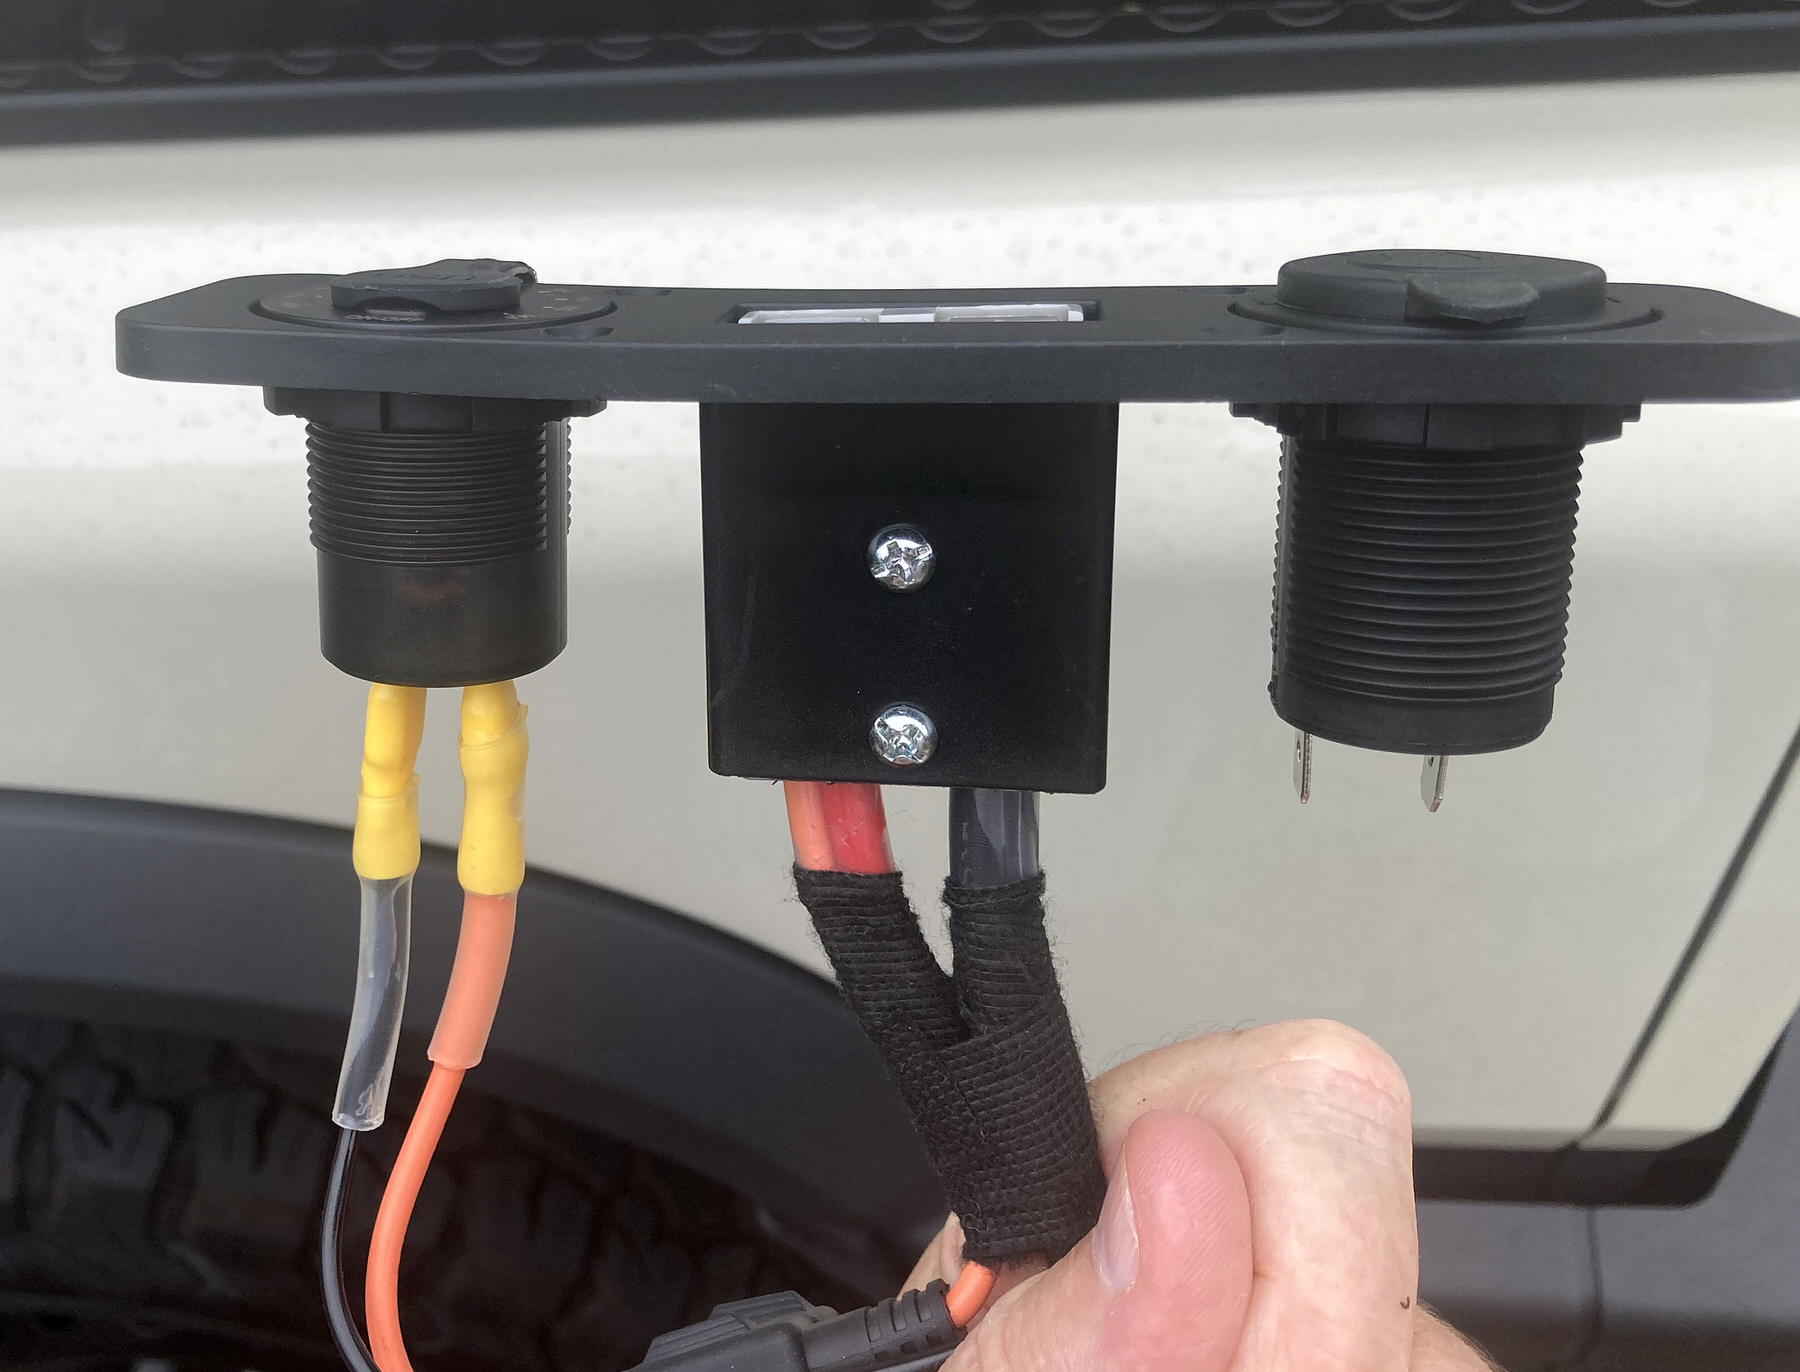
And, the exit of the wire loom for the smart alternator and so on got stuck against one of the pillars of the back seat if trying to use the original drilled holes, see next picture of the final result.

Therefore, I had to modify slightly (trial and error) my plate.

But OK, I got it installed, and it seems to work.
I understand now why BlackSheep made another design for the plate (see also somewhere in this thread a picture)! I should have studied a lot better the posted pictures!
I had the diff lock warnings, and shortly a mistake error on my Smartpass, as others experienced, but 10 m driving forward cleared the diff lock message, and after some minutes the error of the Smartpass disappeared too.
Everything seems normal some hours later, see my battery monitor graph, where you can see when I disconnected my main battery.

Any comment or suggestion or warning is welcome")
Thanks to everybody who did it previously, and from whom I got the inspiration.
I thought I was well prepared, but it took me some 4 hours to finish the job, due to some unexpected issues.
I had already prepared a “BAS” plate (see posts above at the beginning of this thread), but ooh surprise
, in my 5 seat Trialmaster the space is different compared to an utilitarian vehicle, I wasn’t aware.The plate got stuck at the places of the arrows:
And, the exit of the wire loom for the smart alternator and so on got stuck against one of the pillars of the back seat if trying to use the original drilled holes, see next picture of the final result.
Therefore, I had to modify slightly (trial and error) my plate.
But OK, I got it installed, and it seems to work.
I understand now why BlackSheep made another design for the plate (see also somewhere in this thread a picture)! I should have studied a lot better the posted pictures!
I had the diff lock warnings, and shortly a mistake error on my Smartpass, as others experienced, but 10 m driving forward cleared the diff lock message, and after some minutes the error of the Smartpass disappeared too.
Everything seems normal some hours later, see my battery monitor graph, where you can see when I disconnected my main battery.
Any comment or suggestion or warning is welcome
Thanks to everybody who did it previously, and from whom I got the inspiration.
")