The Grenadier Forum
Register Now for enhanced site access.
INEOS Agents, Dealers or Commercial vendors please contact admin@theineosforum.com for a commercial account.

Taking the Airbox Out - RHD Diesel

DCPU

Grenadier Owner
Local time
2:44 AM
Joined
Jul 27, 2022
Messages
6,089
Reaction score
13,498
I guess the days of an oil bath air cleaner that could be maintained without any tools (well maybe a 10mm spanner if you wanted to take the top part off) have long gone; but the Grenadier airbox and fixings left be a bit underwhelmed.

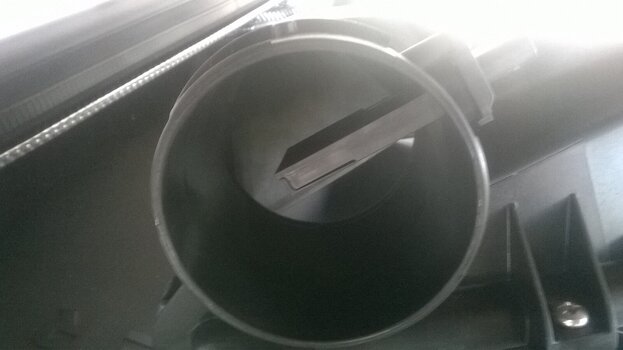
I started with unclipping the air sensor:
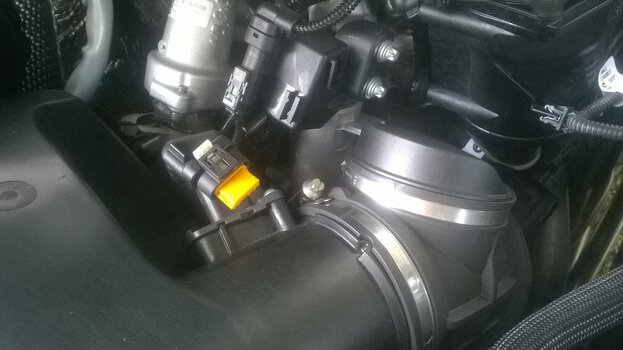
WP_20230608_002.jpgWP_20230608_009.jpg

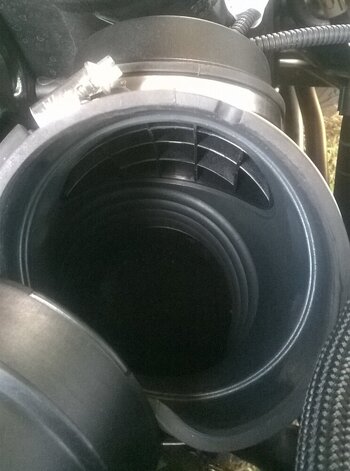
And then 6mm jubilee clip on the output side of the airbox:
WP_20230608_004.jpg

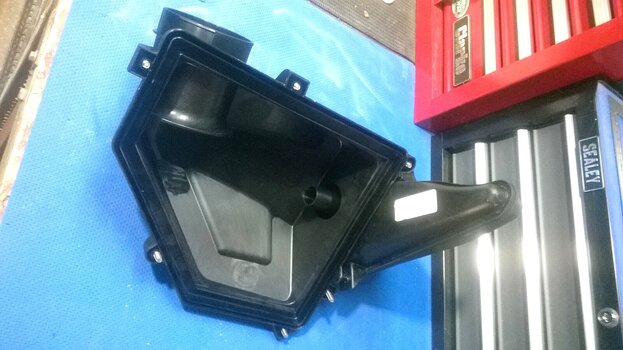
There's then 6 pozidrive no.3 screws around the top of the airbox, all are held captive so don't try and take them out:
WP_20230608_017.jpg

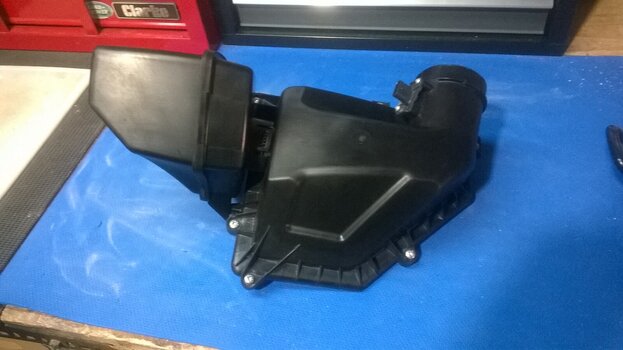
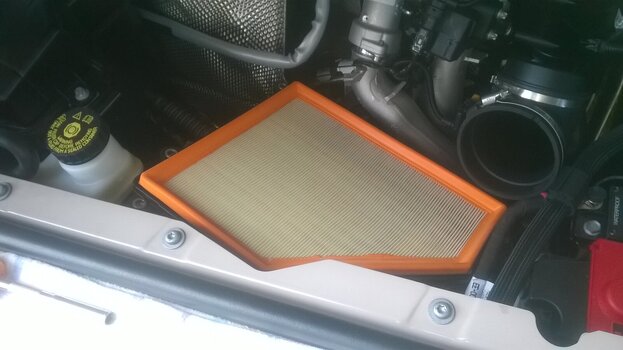
Lift top off and air filter is visible:
WP_20230608_010.jpg

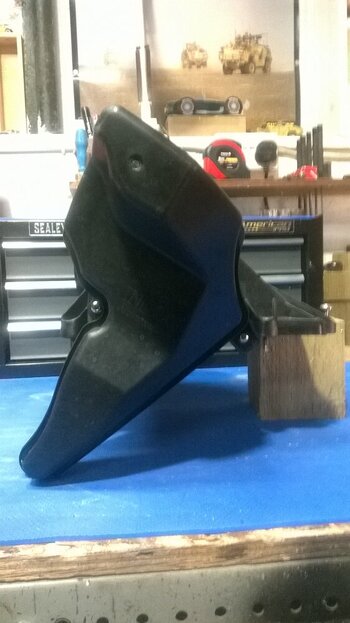
Lid is quite a strange affair:
WP_20230608_012.jpg
WP_20230608_016.jpg

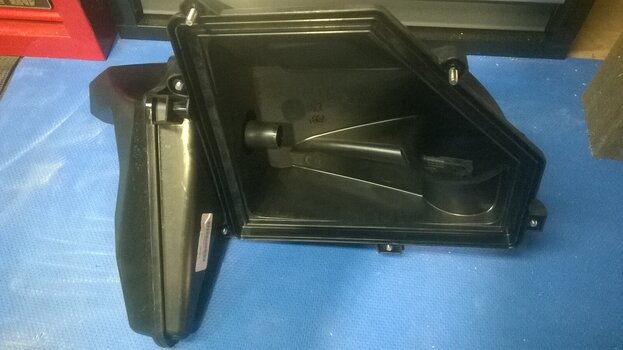
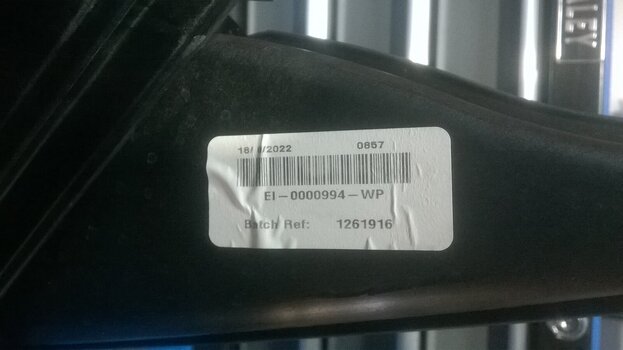
And contains this attached second chamber, held on with two Torx screws, with it's own part number:
WP_20230608_019.jpg
WP_20230608_023.jpg

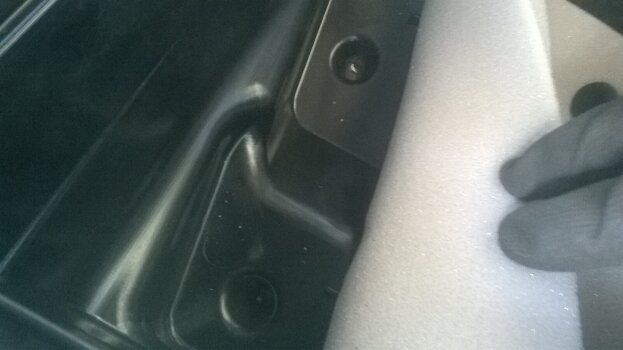
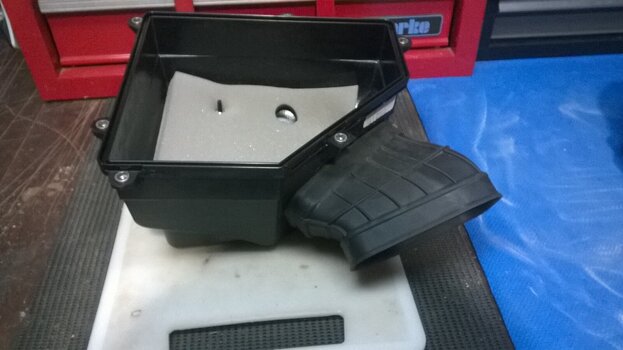
The lower part of the airbox has a piece of foam in:
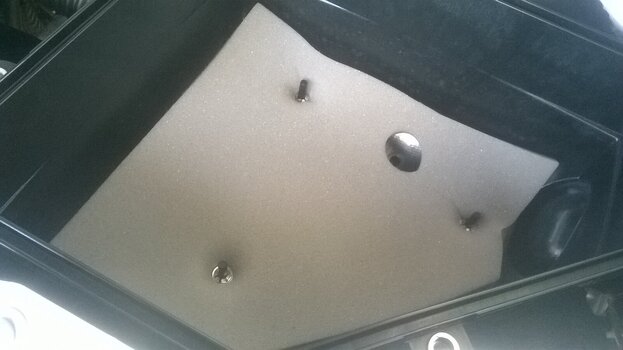
WP_20230608_029.jpg
 

DCPU

Grenadier Owner
Local time
2:44 AM
Joined
Jul 27, 2022
Messages
6,089
Reaction score
13,498
which doesn't even conform to the lower shape of the airbox:
WP_20230608_032.jpg

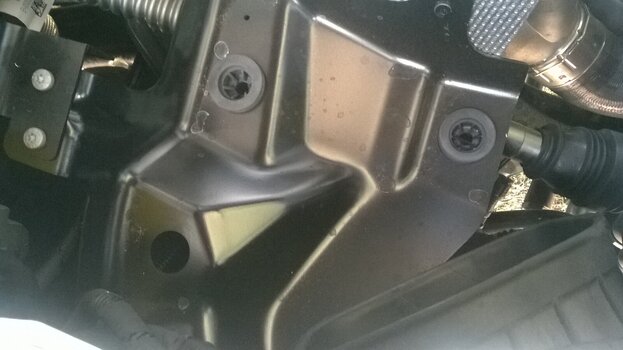
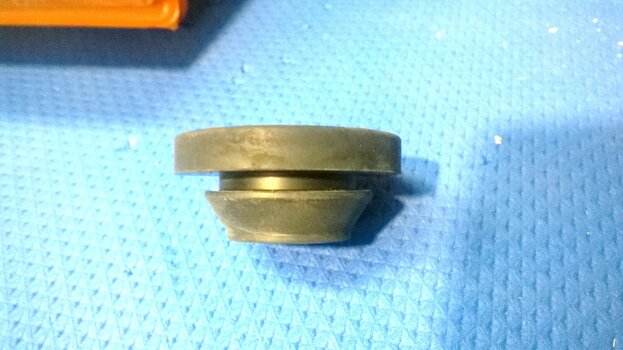
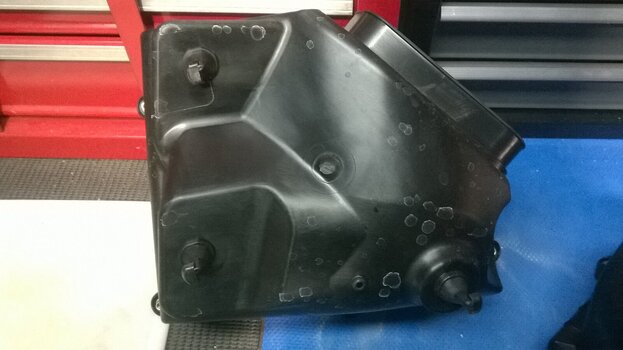
The lower part of the airbox is removed by by pulling upwards. The base is held in place by 3 pronged feet pushed into rubber grommets in a metal base plate (only 2 shown here, as the 3rd grommet came away with the base):
WP_20230608_036.jpgWP_20230608_038.jpg

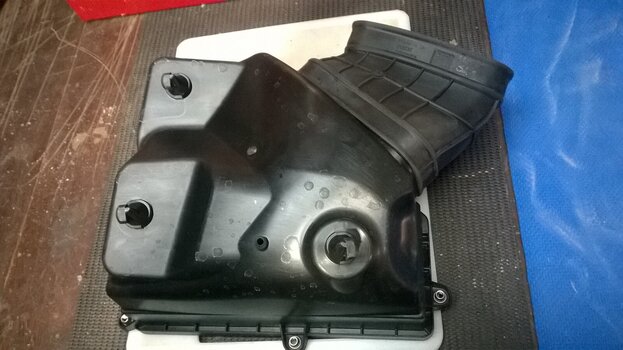
Underneath the base:
WP_20230608_059.jpg

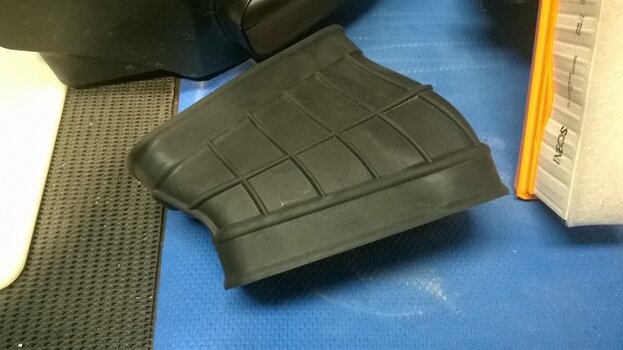
There is a soft rubber connecting section between the intake of the airbox and the plastic intake section that runs through the inner wing to the external intake:
WP_20230608_058.jpg
WP_20230608_061.jpg
WP_20230608_065.jpg
Note hole in base between the two feet.

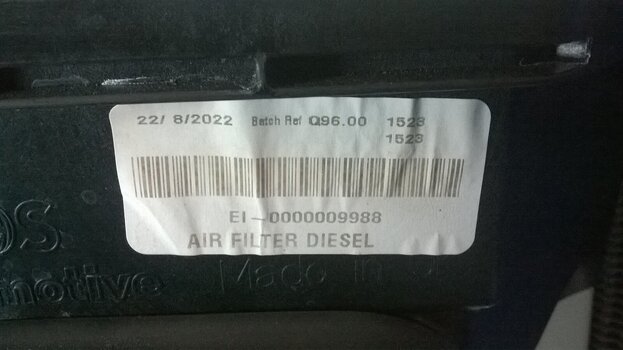
Airbox part number:
WP_20230608_062.jpg
 

DCPU

Grenadier Owner
Local time
2:44 AM
Joined
Jul 27, 2022
Messages
6,089
Reaction score
13,498
Installation is just the opposite. A little fiddly, but I found locating the lower front foot first and then swiveling it around to locate the other two rear feet positions helped.

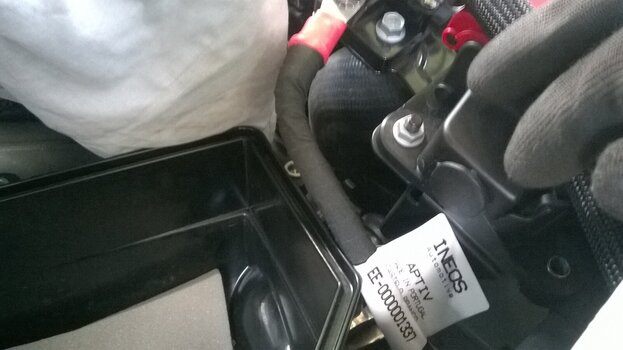
The only real hinderance was the output cable from the Red Winches circuit breaker (only for those that optioned the high load switch pack) which fouls the front edge:
WP_20230608_098.jpg

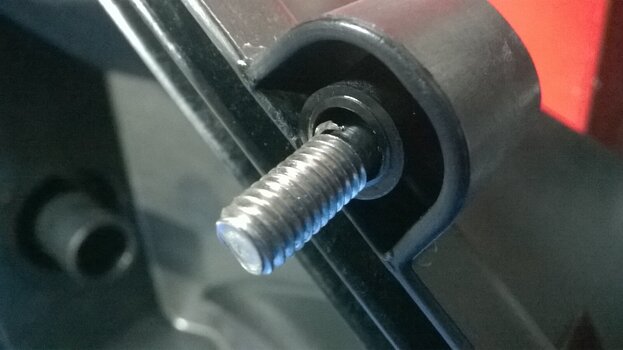
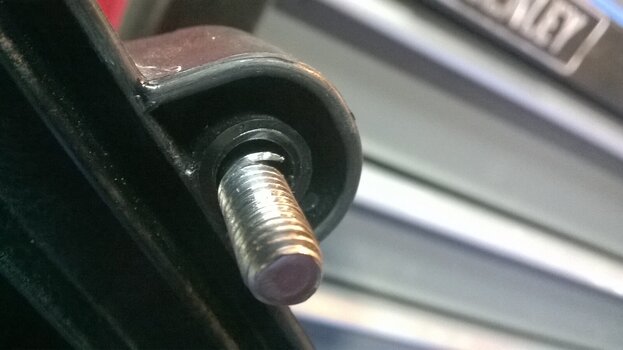
And maybe check the captive screws on the airbox lid - one of mine had the thread peeling away - wouldn't want that ending up on the topside of the airfilter on re-assembly:
WP_20230608_110.jpgWP_20230608_118.jpg
 

DCPU

Grenadier Owner
Local time
2:44 AM
Joined
Jul 27, 2022
Messages
6,089
Reaction score
13,498
Good work ... but why ?
Firstly, because if you don't learn how these things come apart and then go back together in the safety of your own home, then it's that much harder when it's necessary and the location is not so convenient.

And secondly, I was trying to access the fuse box located between the inner wing and the brake fluid reservoir - unsuccessfully as it happens; so I need to find a different way in.

And thirdly, I was looking for a further high load relay that resides between the inner wing and the airbox.

And fourthly, if I wasn't doing this my Mrs would have had me hand sifting a builders bag of rough topsoil.

Just number 4. was enough...
 

DCPU

Grenadier Owner
Local time
2:44 AM
Joined
Jul 27, 2022
Messages
6,089
Reaction score
13,498
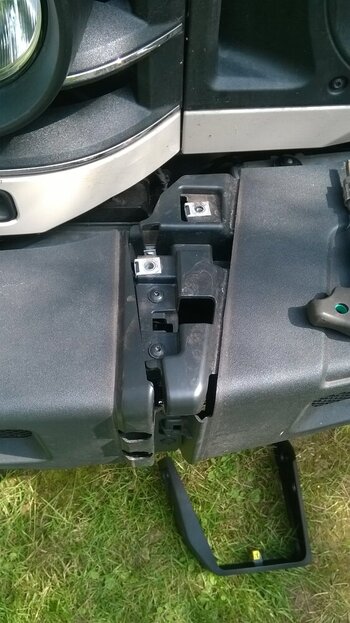
I started that previously, but got told to put it back on and go and get paint from the DIY store...
WP_20230523_042.jpgWP_20230523_043.jpgWP_20230523_045.jpgWP_20230523_046.jpg

Seriously, it looked like layer after layer of screws...
 

AnD3rew

Inch deep and a mile wide.
Grenadier Owner
Lifetime Supporter
Local time
11:44 AM
Joined
Aug 24, 2022
Messages
2,459
Reaction score
6,068
Thanks for doing this, in some aspects it does seem overly complex and not great for us who will be travelling in very dusty environments and may want to regularly change filters on a trip. But I am a fan of the paper style filters over oiled foam which don’t provide nearly the same protection as paper. Some of the complex shapes may be engineered for air flow reasons. It’s normal to have a drain hole in the bottom to let any water that may have come down the snorkel out. Does the odd bit of foam cover that drain hole? Am wondering if it is a kind of pre filter for any stuff that may come up through the drain hole?
 
Last edited:

Trialmaster

Grenadier Owner
Local time
2:44 AM
Joined
Nov 10, 2022
Messages
1,049
Reaction score
2,527
Location
North of Watford!
I am expecting exploded diagrams on how to take my Grenny apart, so I can sell the blueprints to the Chinese to re-engineer it at this rate.

I remember the Chinese once took a Gulfstream G550 apart to backward engineer it and then asked Gulfstream on how to reassemble it.
 

YellowLab

Lifetime Supporter
Local time
2:44 AM
Joined
Mar 28, 2022
Messages
888
Reaction score
1,188
Location
Westlake Village, CA, USA
I think this is one of the greatest pieces of this forum - we have lots of mechanically adept folks that are going to play around with this and find all sorts of solutions/improvements. I agree I want to become very familiar with the basics before I head out into the Mojave for an extended drive - that's always when things cross the line to bollix very quickly...
 

AWo

Local time
3:44 AM
Joined
Feb 28, 2023
Messages
818
Reaction score
1,487
Location
Germany
When I see it correctly, air intake in the bottom, the way to the engine in the top. Well done! That's the way to design an air filter in a 4x4. Never saw the foam thing before. It is for noise reduction or to keep small amounts of water from beeing sucked into the air filter or that the incoming air feels soft, warm and welcome? All? If that works, another good idea.

AWo
 

Tazzieman

Grenadier Owner
Lifetime Supporter
Founding Guard
Local time
11:44 AM
Joined
Sep 30, 2021
Messages
5,816
Reaction score
11,685
Location
Tasmania
Correct - but as a surgeon I like to know the anatomy to avoid it going to autopsy!! 😜
I did 3 years as a surg RMO/reg before deciding pathology gave me free after hours!
 
Back
Top Bottom