Hi Parb, Here's the fix for an off centered steering wheel. DaBull
I decided to tackle the 2-degree steering wheel offset from top dead center that my Grenadier had. I hate to admit it that is was driving me a bit batty. Although I knew having the steering wheel moved to top dead center would not change anything except my perception, I am loving the new perception.
These instructions are for the US Left Hand Drive Vehicles. Not sure if they would be exactly the same for Right Hand Drive Vehicles.
TOOLS
WD-40 to first spray on the captive nuts and threads to make it easier to release the captive nuts.
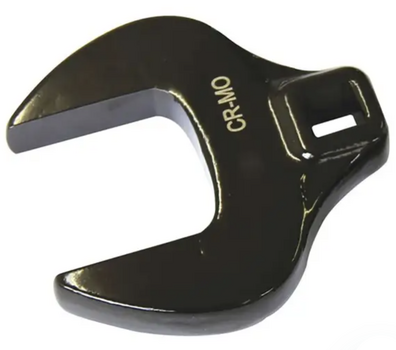
2 large adjustable wrenches. I purchased mine from Harbor Freight.
3M blue tape and permanent marker to set up a reference scale, see photo.
Something to lie on while wrenching away.
Tef Gel or anti-seize to put on threads to make it easier to undo the captive nuts the next time.
Some Red Paint to mark the final adjustment.
A bit of strength to wrench loose the captive nuts, it helps if you know which way to turn them first, which I did not.
Here’s a couple photos on how to go about adjusting the steering wheel to be top dead center. Note: This does not change the alignment of the suspension.
One photo has instructions and the other shows a strip of blue 3M tape I marked up and wrapped around the large wide center nut so I could visually see and make note of what adjustments I was making. The numbers are just for reference and could have easily been A,B,C instead.
Once you have the 2 captive nuts loose, you can then turn the large wide center nut. Simply make 1/6th turn adjustments at first and then take it for a short drive, (Yes, I know you should tighten up the 2 captive nuts first, however I choose not too during the test drive). Keep in mind when taking a test-drive that most roads have a slope/slant that falls off to the side to facilitate drainage during rains. As such, you will find the steering wheel will be 1-2 degrees off for the vehicle to compensate for the sloped road. The trick is to find a level road and then drive it in both directions to judge how well your adjustment is working on level roads and then make further fine adjustments from there. I took my wrenches along for the test-drives and pulled over and made adjustments as needed until I was happy. Once back home, I spread some anti-seize, (I used Tef-Gel), on the threads to make it easier to wrench them loose in the future and then tightened up the captive nuts as hard as I could. I also purchased a small paintbrush and some red paint to make a straight line across the all the nuts so that I could easily peak underneath from time to time to make sure nothing was coming loose. It’s very important to tighten those captive nuts and keep an eye on them to make sure they are not coming loose!
Now that I have finished this project,
Everything In The Universe is Now Perfectly Aligned. DaBull
View attachment 7865432View attachment 7865433View attachment 7865434View attachment 7865435View attachment 7865436
My

 and something no more than about 18" (450mm) long to lessen the chance of overtightening. The problem with the nuts being so big is it pushes you towards big tools that could do damage if you aren't using a torque wrench and get too excited.