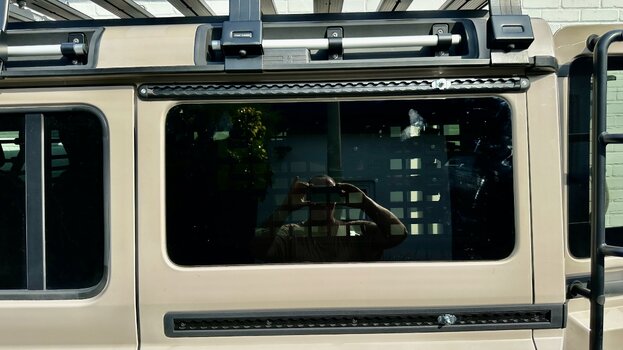
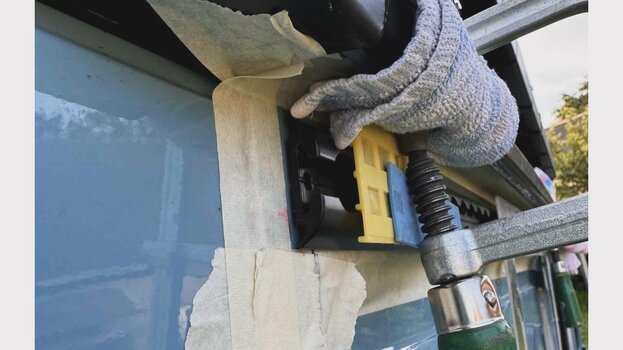
My friend Horst (the horse) would love to have an additional set of airline rails above the rear windows. Has anyone done that yet? As far as i know they are usually mounted with threaded rivets and a good portion of sikaflex car body glue. Where should the rivets go? Are there any drawings of this section of the body out there? How much load can i expect this rail being able to carry?