The Grenadier Forum

Register a free account today to become a member! Once signed in, you'll be able to contribute to the community by adding your own topics, posts, and connect with other members through your own private inbox! INEOS Agents, Dealers or Commercial vendors please use the contact us link at the bottom of the page.

WolfBox - As A New Vendor, Offering 20% Off Discount!

See my post here.
great write-up @Loc Nar. I went out to my truck this morning and took pics of my set-up. I can confirm that I am using FC23 for my "switched" circuit and FC12 for my "Always-on" circuit. Parking sensor seems to be working when the vehicle is off based on what I am seeing in the mirror's set-up menu and I turned the sensitivity to low. I never got around to checking if the camera will auto-record if it detects a collision though. Has someone tried this? Is it as simple as rocking your truck while parked and turned off?
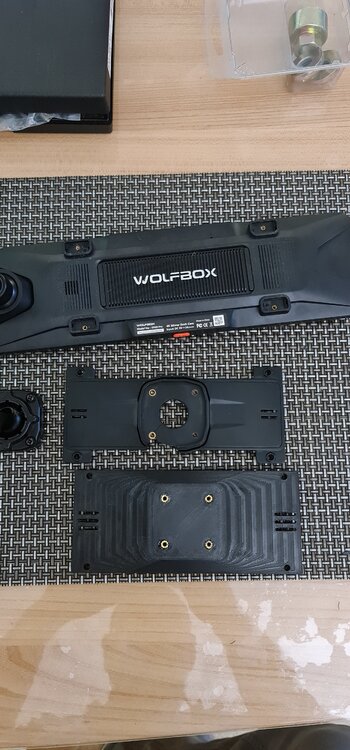
For those of you not sure which slot to put the fuses when using a pigtail, I believe the "right way" to do this is that the original fuse goes on the bottom slot and the camera's fuse (blue one) goes on the top slot. ex. FC12 is a 20A fuse, so that one goes on the bottom of the pigtail and the camera's 10A fuse (blue) goes on top. If the camera's 10A fuse trips, the 20A fuse should still stay intact and allow the Head Unit to operate. However, if the 20A fuse trips, it's likely that the 10A fuse will trip too. If you connect the pigtail to a lower amperage fuse (ex 5A or 7.5A) then if that one trips, your 10A camera fuse should still be okay unless the power spike exceeds 10A too. Either way, I try to use pigtails on circuits that are non-critical to the vehicle's operations and safety systems.

20250117_084311.jpg
 
Just got the tri camera version in the mail. Has anyone already installed the front bumper camera yet?
Not yet....mine arrives on Monday. I am also looking for suggestions on where to route the bumper camera thru the firewall to the bumper. Looking forward to see how your install goes!
 
Just got the tri camera version in the mail. Has anyone already installed the front bumper camera yet?
Started the INSTALL today!

I wanted to make certain the Wolfbox Tripro Bumper was working so used the ciggy lighter adapter provided and ALL of the cameras are working solidly!

Began with the rear door area as more than a few posts stated that the rear door and the dreaded "Grommet cable" from the rear door to the body is a royal pain in the ass.

I managed to run the rear camera wiring thru the rubber connector from the body to the door at that back. It was a bit of a pain. The "door" side of that rubber tubing was so tight around the wires I elected to make a small hole in connector itself to push my fish tape thru and then pull the rear camera cabling out.

WIll post back when I get a bit further on! :)
 
I just finished installing the Wolfbox G900. Wow, what a journey it has been. The cable that comes with the Wolfbox isn't long enough so I had to order a longer cable. Getting the wire through that rubber boot to back door had me swearing in languages I didn't even know existed. Silicon spray is your friend here. Then there is the matter of powering it. I could have picked up 12v from somewhere on the back of the panel, but I decided to go the Switch-Pros route (under the rear seat). I made a platform/bracket that bolts onto the existing studs to mount a switchpros and a Victron Cerbo GX. I ran wires from under the back seat to the overhead panel where I mounted it with this bracket. It killed me to spend so much on a bit of plastic but it's just a little bigger than my 3D printer volume. I bought a 12v to 5v usb C converter from Amazon and screwed it into the ceiling with self tapping screws. I mounted another one to power the Victron GX Touch 50 Display in the same way. Power done, so next was mounting it.

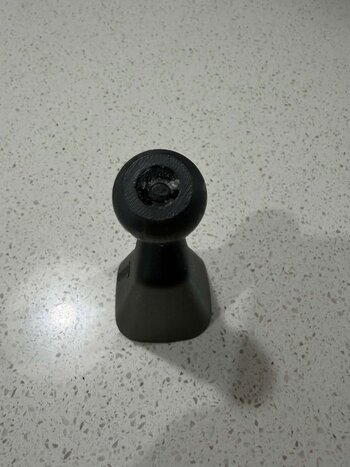
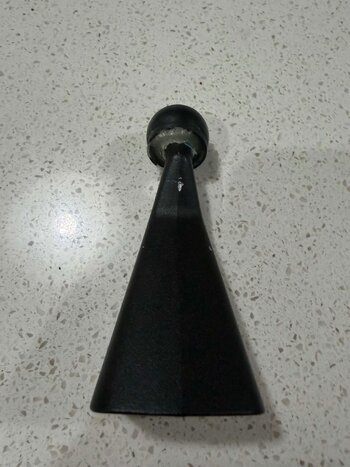
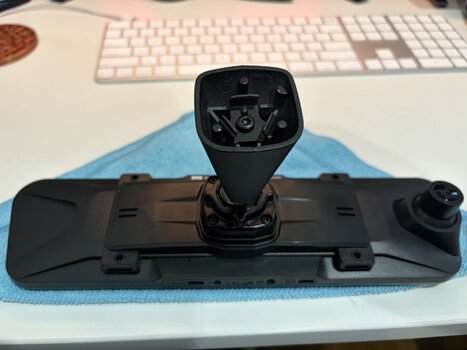
I purchased this OEM bracket and this arm to attach the mirror. It all went fairly well, and I was quite pleased, until I grabbed the mirror to adjust it. The OEM bracket from ebay snapped instantly. I do not recommend this bracket. If you get one, be extremely careful when adjusting the mirror. Cradle the bracket along with the mirror when moving or it will break. I didn't really want to buy another one so 3D printer to the rescue! It took me a couple of prints to get it to fit the odd shaped mirror mounts. I learned ABS shrinks when printed, which is important if printing to exact dimensions. It's not beautiful but it's functional and didn't break when I adjusted the mirror. I would have just printed one to start but decided it wasn't worth the faff for $25. Hindsight is a wonderful thing.

I may need to print a new version of the bracket with an angle on the mount because the mirror with this setup doesn't adjust down as much as it would need to if it was a regular mirror. I'm 5'6" and have the seat pretty much as high as it will go and it's just high enough. Since it's just a screen and not an actual mirror then I recon it doesn't matter so I'll probably just leave it.
 

Attachments

  • mirrorbracket.jpg
    mirrorbracket.jpg
    2.8 MB · Views: 16
  • BasePlate.png
    BasePlate.png
    857 KB · Views: 13
Back
Top Bottom