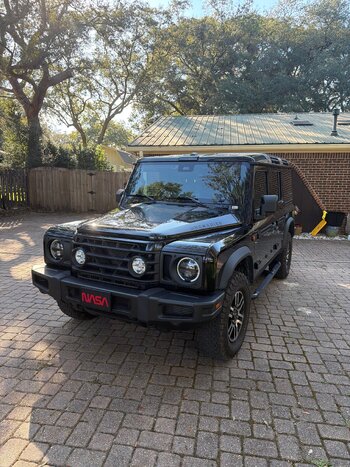
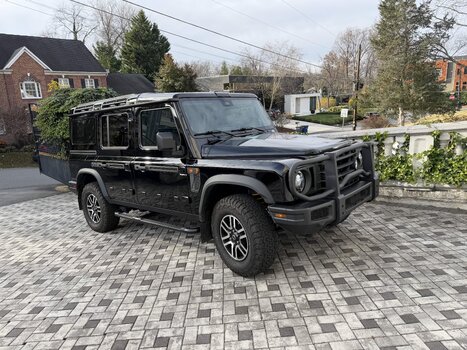
Ok, STREK bull bar installed.
I'll start with the things that went 'wrong' first, then write step by step instructions on what I did. I say wrong because it's really confusing, both the US video install version, and the paper instructions that come with the bull bar.
The EU version video is the best, but it's not for the US. The install video that seems to be for the US is really poor in both lighting and visuals and step-by-step. The paper instructions are sorely lacking in detail and precision, both sequence of steps and visuals. The EU and UK (should really just have had to write "EU" here, but now I'm straying into politics ...) bull bars come with reinforcement mounts because EU/UK bumpers are plastic and US bumpers are metal, not sure where the plastic and metal is in each, just that's why the two versions.
The US instructions themselves are wrong, as is the video, IMO. I'm attaching a scan of the paper instructions here.
There are four screws to remove the vertical bumper fascia at both sides, total of eight screws, where the bull bar mounts to. There are four screws with the kit to replace those removed screws and their washers, four for each side, which are longer, plus the nylon spacers that fit between the bumper at top and bottom that these sets of screws slot through -- BUT those aren't really the screws that are supposed to hold this bull bar strongly to the vehicle, or at least they aren't what the instructions plainly say, and someone prior in this thread I think asked if these 4 screws on each side were enough to hold this bar properly. They could I think, but I wouldn't trust them to.
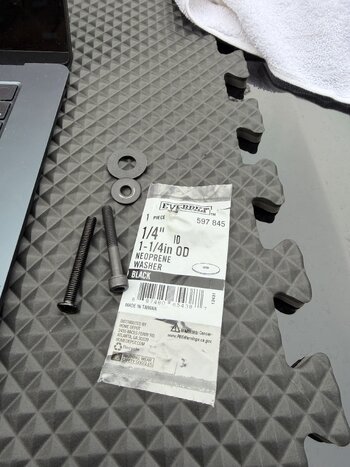
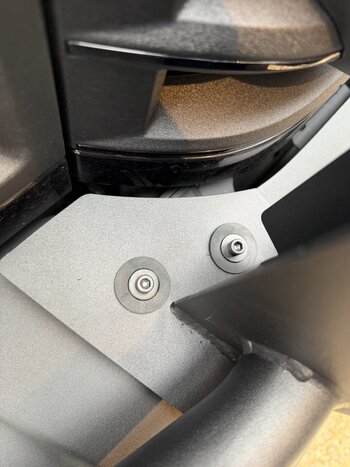
Also, the holes in the bull bar are rather large, which I get, to enable some lack of precision in hole alignment, and the black washers that come with the 2 x 4 sets of black screws for top and bottom are NOT big enough to cover those holes properly. I bought bigger washers, and neoprene ones for the top, metal for the bottom, as well as better M6-1.0 screws to replace what was sent. Their screws do work, I just prefer something like you'll see in the pictures.
I did and undid all the screws several times as I worked out the sequence that is needed -- think of it like a torquing sequence for the transmission pan or mounted wheel.
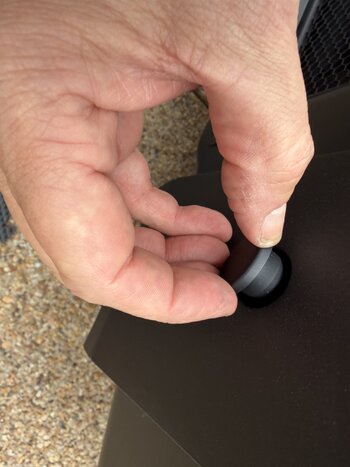
Finally, the rubber or silicone plugs that are supposed to go into the front holes of the bull bar DO NOT FIT. They are WAY too small. The hole is exactly 15/16 of an inch in diameter (yeah, I could do metric and should, maybe I'll add that later). The outside of the plugs are exactly 1". So far so good. But he back of each of these is 3/4", so they don't at all seat into the holes and would not stay, they easily fall out.
So, here's the sequence I found works, removing all the re-work I did to get to this sequence.
Remove the top and bottom bolts of the left and right side of the vertical facia, store these, you won't use them unless you remove the bar to go back to factory.
There are 4 silver T-50 Torx bolts on each side after the fascia is removed. Two have thicker heads than the other two, and those thicker ones are vertically aligned. Remove those two bolts for each side.
Clean the uncovered areas, if you're OCD like me.
Place the two nylon spacers for each side, just set them over the holes -- that two for the left, two. for the right side.
Grab two of the screws and washers provided.
I had to do this one my own, so I balanced the bull bar on the spacers on top, and put one screw and washer on each side just enough to keep the bar from falling off -- it was stable even without the screws but didn't feel like taking the chance of it falling. Hand tighten or use a hand screwdriver with the appropriate hex bit, but leave these bolts LOOSE.
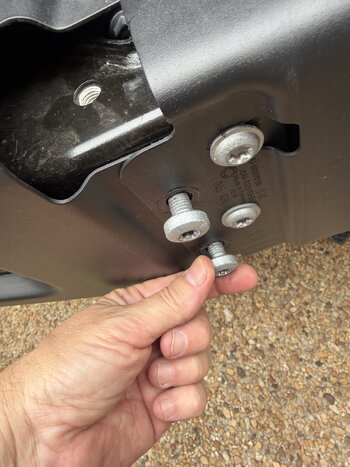
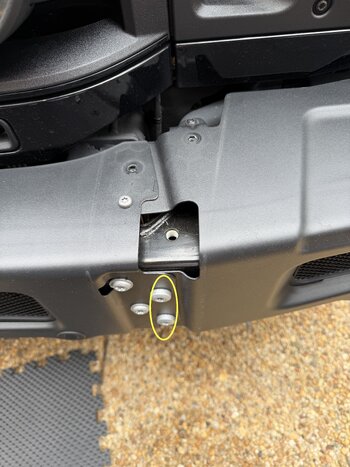
Put in the T-50 silver front bolts on each side, they go through the front holes through a welded piece on the inside of the bull bar that aligns with those holes. THIS is what wasn't clear in the instructions and I felt wasn't really clear in the video. THESE ARE THE BOLTS THAT WILL ENSURE THIS BULL BAR IS NOT GOING ANYWHERE. Tighten until they seat using a screwdriver by hand, but then loosen a bit.
The reason to leave those beasts of bolts loose and the top bolts loose, is that the bottom holes DO NOT align properly with the threads that the screws are supposed to go through in the bumper / frame. The bull bar has anti-deformation steel reinforcements screwed in, which is great. However, you must test the alignment of the bottom screws to the threads in the bumper / frame they are supposed to attach to. I had to use a rubber mallet to tap the bull bar to the left / right to get them aligned, and push the bull bar in with one hand as I threaded the bottom bolts into the bottom.
ALSO: the bottom bolts will not align front to back -- until you seat the beast T-50 silver bolts properly. That's what you do next. Then again, test the alignment in forward/back and left/right manner to ensure they'll seat properly. Because when you screw the bottom bolts in, they WILL deform the bull bar mounts to fit properly. I don't think this is damaging, what's critical here is not to strip the threads on the vehicle.
Hand seat those bottom bolts (don't forget to put the nylon spacers between the bull bar inside and the threaded mount point), then hand tighten them with a screwdriver with the right bit. DO NOT USE A DRIVER HERE, or on any of these screws, even the front beast T-50s. You can do that last if you really want to seat them that way, I did not, but doing it before hand-seating all bolts, you may strip the threads if they aren't aligned well.
Then hand seat the bottom bolts tight, then hand seat the top bolts tight. Bottom should go first so there's give in the top portion because bottom ones align worse than top ones.
Then put the rubber / silicone plugs in the front holes, and watch them fall out as they nowhere near fit. I'll ask STREK to send me ones that fit, we'll see if they have them. Maybe the holes are bigger now as a change, and the plugs were not updated?
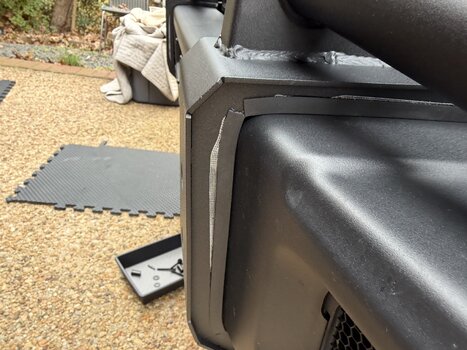
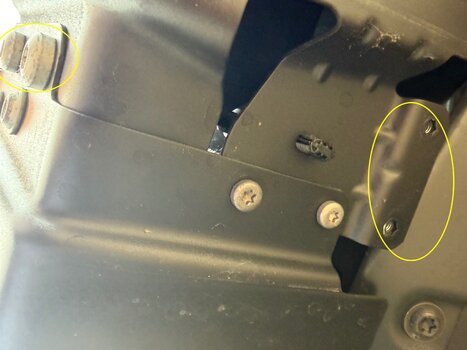
There are some cosmetic issues like some of the glue / mesh that's used to attach rubber protectors on the inside edges of the mount points, but I'm sure I can clean those up with care.
Pictures aren't in order, sorry. And I can't compare to other bull bars and their installation.
Questions? Comments?
Overall I'm happy with this bull bar. I'm not going to get my knickers in a twist because of the issues I've mentioned, I'll figure out if any changes are warranted, and if I want to get the plugs for the front holes later. I could put little laser beams coming out of the front holes, clearly I have time on my hands.
Hope this helps.
/s.

")