
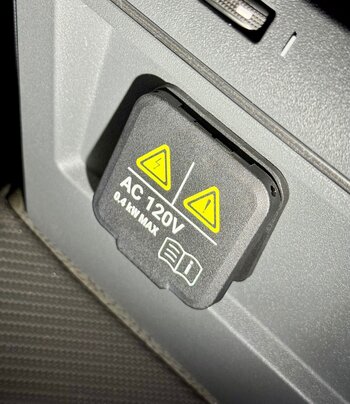
I removed the 120V AC flap from the second row center console.
The steps are:
So the goal was to put a 120V MagSafe charger into the socket and charge my phone when I'm driving.
It's an easy blind reach from the driver's seat to the MagSafe charger.
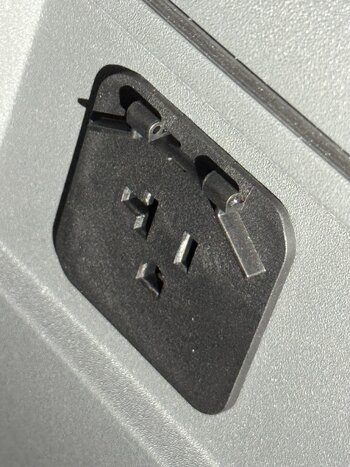
I got very lucky and the diameter of the charger doesn't overlap the angled tabs you can see in the picture so the charger is snug against the outlet.
It's a "Twelve South PowerBug MagSafe Charger" and I only saw one other vendor with a similar design but slightly different dimensions so I don't know if the angled tabs would interfere.
The magnet on the charger is good but not the strongest I've seen but I think the phone won't fall off. (I am using a MagSafe compatible case)
It works for now and I didn't have to do any wiring heroics.
The steps are:
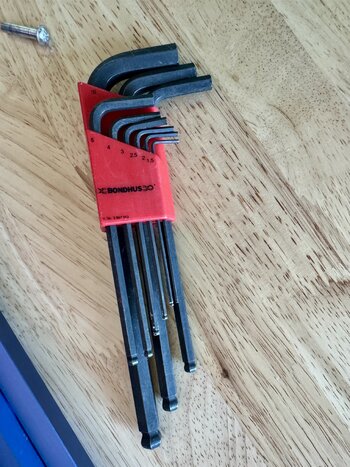
- Get an Allen/Hex key or some sort small diameter right angled piece of metal. I used a 1.5mm key.
- There are holes on either side of the flap at the hinge.
- From the left side, push the hinge pin in (from left to right) using the short end of the hex key
- It should slide out from there using your fingers. If necessary, pliers can be used for better grip.
- You'll notice the right side of the pin has grooves.
- Remove the cover and catch the spring.
- Put the hinge pin back in through the cover and springs so nothing is lost and put it in a plastic bag and save it somewhere.
- Done.
So the goal was to put a 120V MagSafe charger into the socket and charge my phone when I'm driving.
It's an easy blind reach from the driver's seat to the MagSafe charger.
I got very lucky and the diameter of the charger doesn't overlap the angled tabs you can see in the picture so the charger is snug against the outlet.
It's a "Twelve South PowerBug MagSafe Charger" and I only saw one other vendor with a similar design but slightly different dimensions so I don't know if the angled tabs would interfere.
The magnet on the charger is good but not the strongest I've seen but I think the phone won't fall off. (I am using a MagSafe compatible case)
It works for now and I didn't have to do any wiring heroics.
Attachments

Last edited:
